


Instead of rebuilding artwork and correcting exports for every job, use this Illustrator to DTF transfer workflow to lock the print size, preserve transparency, and hand off an approved production file. Keep an editable master, export to the transfer producer’s requirements, and verify the physical transfer before pressing the full run.
- DTF2GO is best for apparel decorators outsourcing custom, ready-to-press DTF transfers.
- An Illustrator to DTF transfer workflow starts with final dimensions, transparent artwork, and a separate editable master.
- Use PNG only when the transfer producer accepts it; confirm resolution, color handling, and mirroring before export.
- Choose individual cut-to-size transfers for separate graphics or a gang sheet for a combined production layout.
Why this matters
A clean Illustrator file is not automatically a production-ready DTF file. Hidden backgrounds, substituted fonts, and incorrect dimensions survive a quick screen review. Those errors become harder to correct after printing.
DTF2GO produces custom cut-to-size, ready-to-press DTF transfers for apparel decorators, promotional product businesses, and print shops. DTF2GO is best for apparel decorators outsourcing custom, ready-to-press DTF transfers. You prepare and approve the artwork; the physical transfer still needs a controlled application process.
For your 2026 production standard, separate three decisions: what the graphic looks like, how large it prints, and how the transfer is applied. Approve each independently. A garment mockup does not verify exported dimensions, and an attractive export does not establish heat-press settings.
Before you start
- Accounts and access: Have Adobe Illustrator, the editable artwork, the required fonts, and access to the transfer producer’s ordering process. Confirm the accepted file format, color requirements, artwork dimensions, and mirroring instructions before building the export.
- Production materials: Record the garment, placement, finished graphic dimensions, and quantities. Have the transfer-specific application instructions and a suitable heat press before scheduling garment production.
- The non-obvious gotcha: Illustrator’s white artboard display is not necessarily a white background object. Inspect the actual objects and exported transparency; otherwise, you can accidentally print a rectangle or remove white artwork that belongs in the design.
Keep the producer’s current requirements with the job record. A saved 2026 template should preserve your workflow, not override a different transfer’s instructions.
Artwork master and final dimensions
Start the Illustrator to DTF transfer process with a master you can revise. Build the production copy from that master, rather than flattening or outlining your only editable file.
- Open the source artwork and choose File > Save As. Save an editable Illustrator master with a descriptive job name and revision identifier.
- Choose Window > Layers. Separate printable artwork from garment mockups, placement guides, notes, and reference images. Hide or remove nonprinting content from the production copy.
- Select the intended graphic and open Window > Transform. Set W and H to the approved finished dimensions, using the proportion control when the design must retain its aspect ratio.
- Select the Artboard Tool and set the artboard dimensions to the intended export area. Decide whether those dimensions describe the graphic itself or a larger layout containing several graphics.
- Compare the graphic bounds with the artboard bounds. Record both when they differ, so transparent padding does not become an accidental sizing instruction.
Expected result: The production copy contains only intended print content, and the graphic has a documented physical size. You can still edit text and source objects in the separate master.
For example, a graphic intended to print 10 inches wide should not sit inside an unexplained 12-inch-wide export area. Both dimensions can be valid, but they mean different things. Make the distinction explicit before ordering.
Font, image, and transparency checks
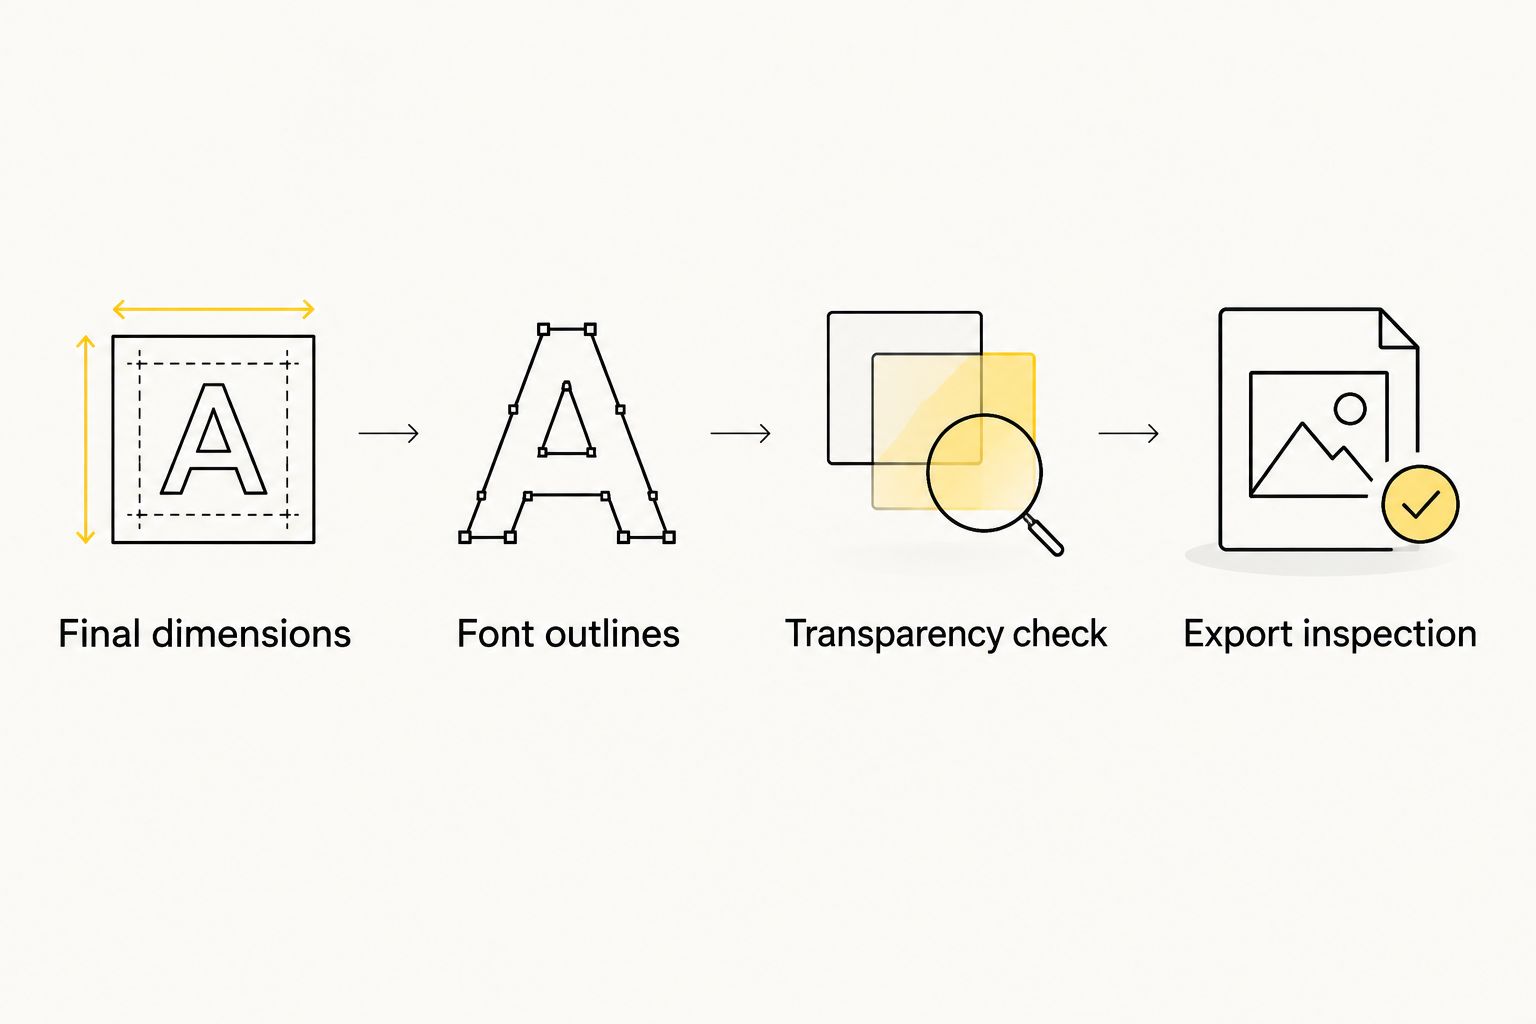
Inspect the production copy at the intended print size. Enlarging a low-resolution placed image inside Illustrator does not turn it into vector artwork.
- Open Window > Links and inspect placed images. Resolve missing links and replace visibly pixelated source images before exporting.
- Review raster detail at the final physical dimensions. If you choose a 300 ppi raster export, a 10-inch-wide image spans 3,000 pixels; that calculation describes the export, not the quality of its source.
- Select production text and choose Type > Create Outlines after the wording is approved. Keep live text in the editable master so later corrections do not require rebuilding the lettering.
- Choose View > Show Transparency Grid. Inspect the space around the design and the openings inside letters or shapes. Remove background objects only when they are not part of the approved artwork.
- Add a temporary dark rectangle behind the graphic to inspect white objects, stray pixels, and pale edges. Delete that rectangle before export, then inspect the artwork again on the transparency grid.
Expected result: Fonts no longer depend on another workstation, linked artwork is present, and transparent areas contain no unintended objects.
White artwork and transparent space are different production instructions. A white logo element belongs in the graphic when the design calls for it. Empty space should remain empty. Do not add a white underbase yourself unless the transfer producer specifically requests one.
Export settings and file inspection
Use the producer’s accepted format, not a format selected from habit. The steps below cover a transparent PNG handoff when PNG is accepted; they do not establish a DTF2GO upload requirement.
- Choose File > Export > Export As. Select PNG, enable Use Artboards, and export the intended artboard rather than every artboard in the document.
- In PNG Options, set Background Color to Transparent. Set Resolution to the producer’s requirement; use Other when you need to enter a specified value.
- Review Anti-aliasing. Art Optimized (Supersampling) is an artwork-oriented choice, but inspect small lettering and narrow details in the exported file rather than assuming the setting resolves every edge.
- Open the exported PNG separately. Check pixel dimensions, transparency, missing objects, white elements, and the edges of raster content. Confirm that the export contains no garment mockup or placement notes.
- Match the intended physical dimensions to the order dimensions. Record the approved width and height in the job ticket; do not rely on resolution metadata alone to communicate print size.
Expected result: The actual handoff file matches the approved design, contains the intended transparent areas, and has a documented print size.
For the 2026 job ticket, also record the color instructions and whether the supplied artwork is mirrored. Do not mirror artwork unless the producer requests mirrored files. Mirroring is part of DTF production, but its ownership must be clear at handoff.
Do not promise a screen-to-print color match from a monitor preview. Preserve the requested color workflow and arrange a physical approval when a particular color is critical. Avoid changing document color settings merely because another printing process uses them.
Order route and press verification
Choose the order route before duplicating graphics. A separate-artwork job and a combined-sheet job need different file organization, even when the underlying design is identical.
| Order route | Best for | Advantage | Limitation |
|---|---|---|---|
| Individual cut-to-size DTF transfers | Decorators handing off separate graphics | Keeps each graphic distinct for production handling | Requires clear quantities and dimensions for each graphic |
| Print-ready DTF gang sheet | Shops preparing a combined artwork layout | Groups multiple graphics in one production file | Requires checking layout, quantities, and separation space across the sheet |
Choose individual cut-to-size transfers when separate graphics are the priority; choose a gang sheet when the combined layout is deliberate. Neither route fixes artwork defects. The correct choice is the one that matches your handling plan.
- Prepare the selected route using the producer’s current dimensions and file requirements. For a gang sheet, leave the required space between graphics; do not invent a universal cutting allowance.
- Reconcile the file with the job ticket. Check artwork revision, graphic dimensions, quantities, color instructions, and mirroring status before submitting.
- When the transfers arrive, compare the physical graphics with the approved artwork. Check orientation, visible detail, and dimensions before applying them to customer garments.
- Apply a test transfer using the supplied instructions for temperature, time, pressure, peel method, and any finishing press. Keep seams and other raised garment features from interfering with platen contact.
- Inspect the test application before releasing the run. Record the settings and observations with the artwork revision so a repeat order has a usable production reference.
Expected result: The ordered transfer matches the approved file, and a test application establishes the setup for that transfer and garment combination.
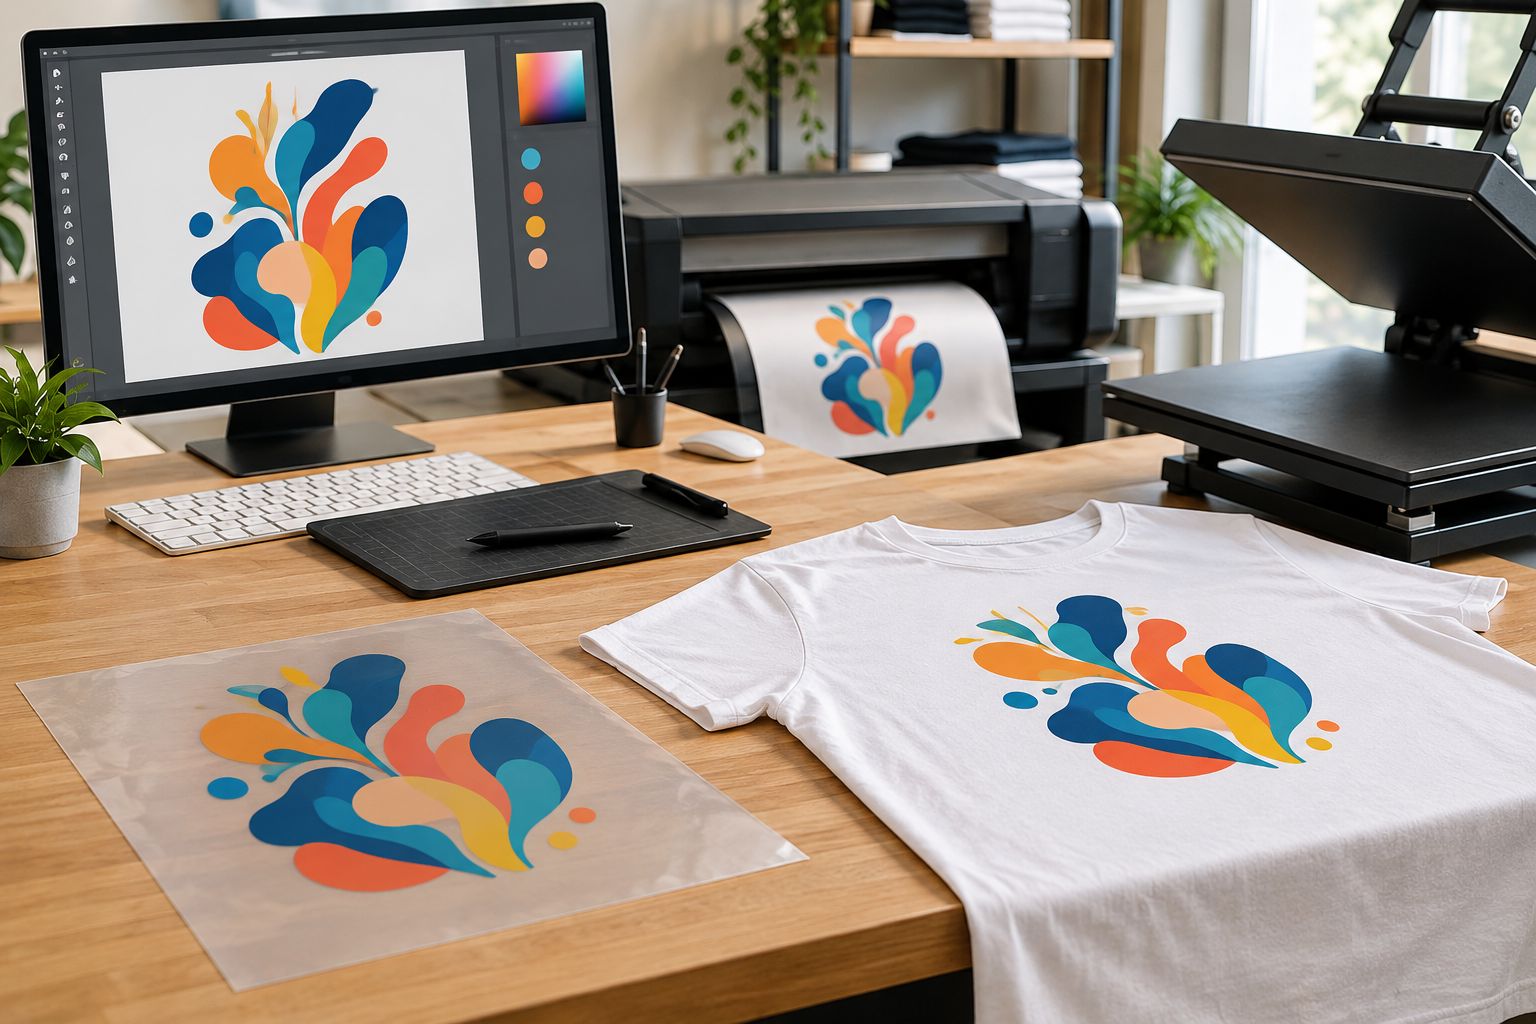
A ready-to-press transfer removes film printing from your shop workflow. It does not remove garment testing. Different fabrics and raised garment features still require attention at the press.
When approved artwork changes
A repeat order becomes a new artwork job when the wording, size, or design changes. Use a revision-controlled variant instead of overwriting the file used for the previous run.
- Open the editable Illustrator master and choose File > Save As to create the new revision. Update live text there, not in the outlined production copy.
- Change the approved elements and inspect their effect on dimensions. A longer name or wider logo can alter the graphic bounds without changing the artboard.
- Create a new production copy, repeat the outline and transparency checks, and export again. Do not rename the old export as if it contains the new design.
- Compare the new export with the updated job ticket. Replace affected duplicates throughout a gang sheet and recount each design.
- Archive the previous export separately. Mark the new revision as the file authorized for the current order.
Expected result: The revised order has one clear production file, and the previous file remains identifiable without competing for use.
For recurring 2026 orders, keep the artwork revision separate from the garment specification. The same graphic on a different fabric requires a fresh application check even when no design changes occur.
Troubleshooting
A white rectangle appears around the graphic
Check for an actual background object before changing the export. Use Window > Layers to find rectangles or placed images behind the design, then verify Background Color > Transparent during PNG export. White pixels inside a placed raster image are not removed merely by choosing a transparent export background.
The transfer artwork is the wrong size
Compare the graphic bounds, artboard dimensions, exported pixel dimensions, and dimensions entered with the order. Transparent margins often explain why the visible graphic is smaller than the specified file area. Correct the source layout and re-export instead of asking production to guess your intended size.
Lettering changes or disappears
Return to the editable master and confirm the correct fonts are installed. Create outlines in a fresh production copy, then inspect the export for every text object. Recheck small enclosed spaces in letters at the intended physical size.
Raster edges look soft or show a pale halo
Inspect the placed image without assuming Illustrator repaired it. Replace insufficient source artwork, remove unwanted edge pixels in the source image, and review transparency against light and dark backgrounds. A higher export resolution does not restore detail absent from the original.
The transfer lifts during application
Pause the run and compare the setup with the transfer-specific instructions. Check pressure, garment flatness, temperature verification, timing, and peel method before changing settings. Confirm that seams or pockets are not preventing even contact; do not use an unrelated transfer’s press recipe as the fix.
Customize your workflow
Turn this Illustrator to DTF transfer guide into a reusable job packet: an editable master, a production export, an approval image, and a job ticket. Keep mockups separate from print files so nobody mistakes a garment preview for artwork.
For DTF2GO ready-to-press DTF transfers, organize the handoff around the approved graphic and the selected order route. The benefit is a clear production instruction; the constraint is that you still own artwork approval and garment application checks.
Standardize your 2026 handoff fields around dimensions, quantity, revision, color instructions, and mirroring status. Expand the layout only after the individual design passes inspection. That sequence prevents a defect from being duplicated across an entire gang sheet.
FAQ
How do I go from Illustrator to a DTF transfer?
Set the final graphic dimensions, prepare a production copy, check fonts and transparency, and export in the transfer producer’s accepted format. Submit the approved dimensions and quantities with the file, then test the physical transfer before pressing the full run.
Should I mirror Illustrator artwork for DTF printing?
Mirror Illustrator artwork only when the transfer producer requests mirrored files. Confirm who handles mirroring before submission so the artwork is not reversed twice.
Can I export a transparent PNG from Illustrator for DTF?
Yes, Illustrator can export a transparent PNG through File > Export > Export As, with Background Color set to Transparent. Confirm that the transfer producer accepts PNG and inspect the exported file before ordering.
Is 300 ppi enough for Illustrator DTF artwork?
Use 300 ppi only when it meets the transfer producer’s requirements at the intended print size. A 10-inch-wide export at 300 ppi contains 3,000 pixels across, but exporting low-resolution source artwork at that setting does not restore missing detail.
Do I need to outline fonts before sending DTF artwork?
Outline fonts in a production copy when the handoff requires font-independent vector artwork. Keep an editable master with live text, and inspect the final export regardless of the file format.
Should I use individual transfers or a gang sheet?
Use individual cut-to-size transfers for separate graphics and a gang sheet when you deliberately prepare a combined layout. Individual files simplify separation, while gang sheets require checking every duplicate, quantity, and gap.
What heat-press settings should I use for ready-to-press DTF transfers?
Use the application instructions supplied for the specific transfer, including temperature, time, pressure, and peel method. Test on the intended garment before releasing production; an Illustrator export does not determine press settings.
One last thing
Approve the exported file, not just the Illustrator canvas. A correct master can still produce a wrong handoff through an incorrect artboard selection, background setting, or size instruction. Make export inspection the final artwork gate before ordering.


