


High-volume apparel decorators' DTF production is a heat-transfer workflow for applying printed graphics to garments with the aim of fulfilling contract orders consistently. Choose cut-to-size transfers when cutting and sorting constrain your press line; choose gang sheets when your team can separate, count, and stage designs without delaying production.
- DTF transfers for high volume apparel decorators require approved artwork, garment testing, and batch-level quality control.
- DTF2GO DTF transfers suit contract decorators seeking custom, cut-to-size graphics ready for heat pressing.
- Cut-to-size transfers remove sheet separation; gang sheets require cutting and sorting before pressing.
- Measure accepted garments per labor hour, not just heat-press cycles.
Why DTF matters for high-volume contract apparel decorators
Contract decoration means executing someone else's specification across customer-supplied or purchased garments. Your production controls must preserve the approved artwork, placement, garment identity, and quantities through every handoff. A correct print on the wrong shirt is still a rejected garment.
DTF separates transfer production from garment application. Buying ready-to-press transfers lets your shop handle decoration without also operating the transfer-printing process. That removes printing from your internal workflow, but garment testing, pressing, inspection, and order reconciliation remain your responsibility.
For your 2026 production plan, assess the entire job rather than treating transfer format as a purchasing detail. Review the guide to designing artwork for DTF transfers before releasing files: artwork errors travel downstream into every copy of a design.
The right transfer format is the one that supports accepted output at your actual bottleneck. If cutting delays pressing, sheet layout efficiency alone does not solve the problem.
Build a controlled DTF contract-decoration workflow
1. Lock the job specification before ordering
Start with a shared spreadsheet and a printed job ticket. Create 1 job ticket per production batch, and make that ticket the source of truth for artwork revisions, garment counts, decoration locations, and approval status. Do not let email attachments serve as competing production instructions.
Separate the customer's requested appearance from the instructions your operator needs. A mockup communicates the intended result; the production ticket records the actual transfer dimensions and placement references. Confirm whether different garment sizes need different graphic sizes before purchasing transfers.
Use three release gates on your 2026 job ticket: Artwork approval, Garment validation, and Batch release. Give each gate a named owner so operators know who can resolve a mismatch.
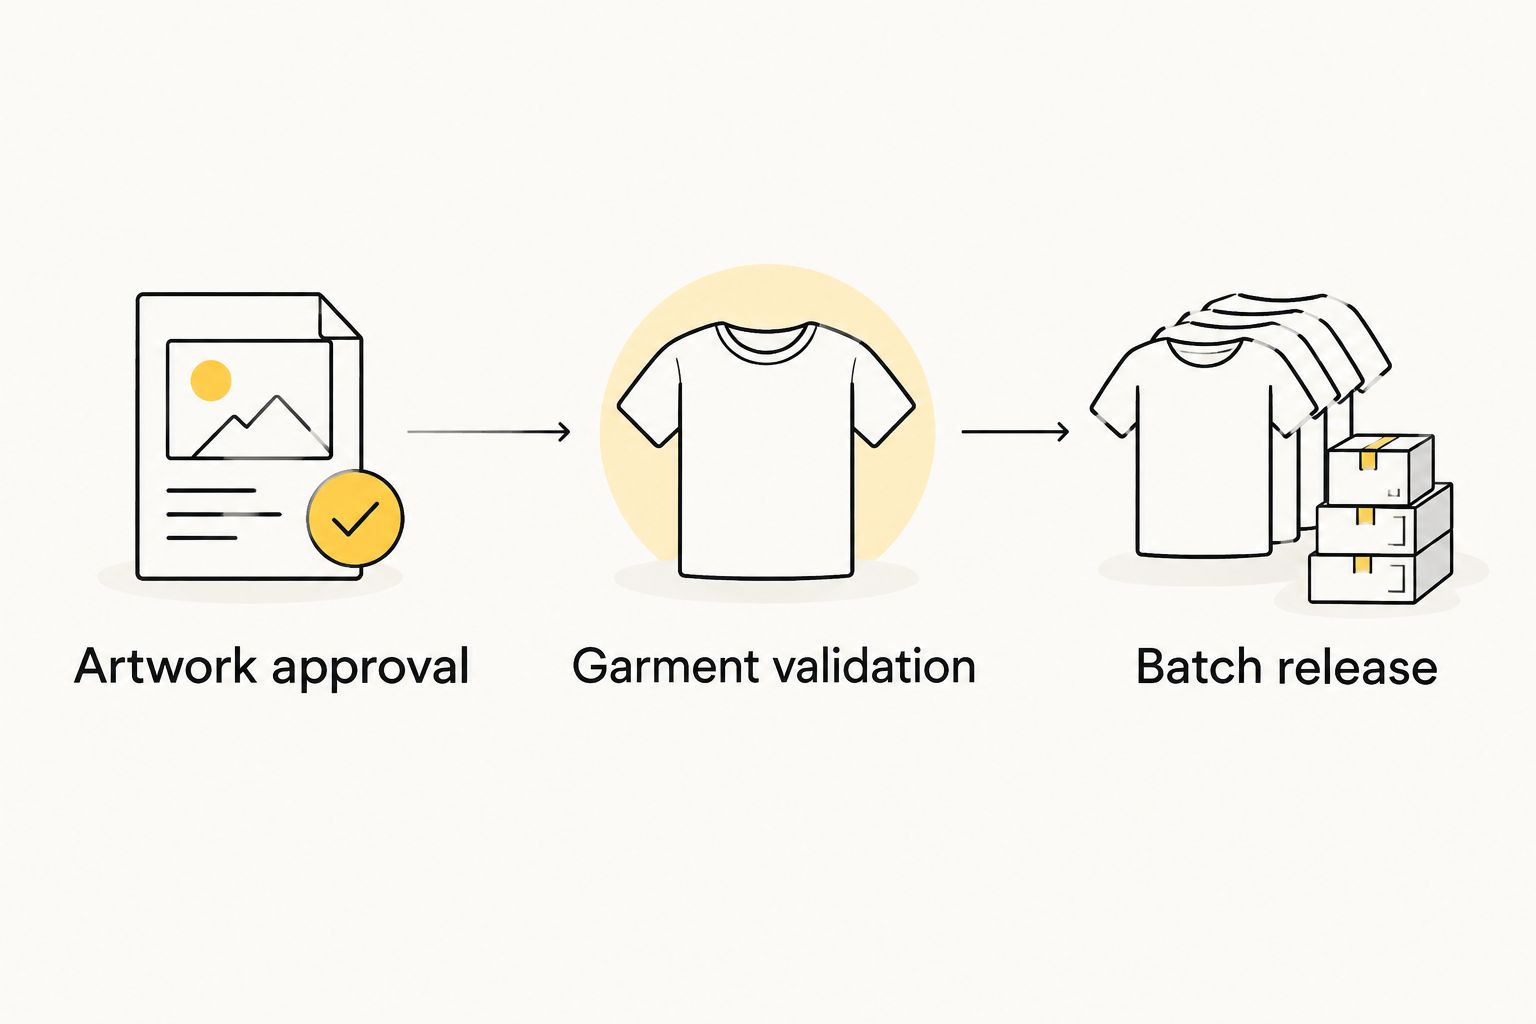
The ticket should make these checks explicit:
- Artwork approval: record the approved file name, revision, dimensions, and decoration locations.
- Garment validation: record the garment style, fabric information, color, and test result.
- Batch release: record the authorized quantity and approval owner.
- Separate customer-supplied blanks from shop-supplied blanks in the count.
- Flag personalized graphics and size-specific designs before ordering.
2. Validate the actual garment and transfer combination
Use a manual first-article process before committing the batch. Follow the transfer supplier's application instructions and check the garment manufacturer's care information. Do not copy a temperature or peel sequence from an unrelated transfer.
Keep 1 approved first article per garment-and-transfer combination as a production reference. The sample should show placement, color appearance, surface finish, and the intended result after carrier removal. If the garment construction changes, validate the new combination rather than extending approval automatically.
Inspect the decoration after the instructed cooling and finishing process. Check edges, fine details, adhesion, and garment appearance, then evaluate laundering under the garment's care instructions before making durability commitments to your customer.
This test is especially important when seams, pockets, coatings, or heat-sensitive materials affect how the decoration area contacts the platen.
- Test the actual garment style and color assigned to the order.
- Record the supplier's instructed temperature, time, pressure, and peel sequence.
- Check placement against a measurable garment reference.
- Evaluate visible color against the customer's approved reference.
- Keep rejected tests separate from approved production samples.
3. Choose the transfer format around your labor constraint
First, time your existing preparation process with a stopwatch and tally sheet. Record cutting, counting, sorting, garment loading, pressing, peeling, and inspection separately. A transfer that is quick to press still creates work before and after the platen closes.
DTF2GO produces custom cut-to-size, ready-to-press DTF heat transfers. DTF2GO DTF transfers are best for decorators who want custom, cut-to-size graphics ready for heat pressing. That format removes sheet separation from your shop's workflow; it does not remove alignment, garment testing, or quality control.
Gang sheets remain an option when your team can organize multiple designs into a layout and separate them accurately. In your 2026 format review, compare preparation labor alongside transfer purchasing and the resulting accepted output. Do not assume the fullest sheet produces the most efficient job.
- Choose cut-to-size transfers when sheet cutting is the measured constraint.
- Choose gang sheets when you have a controlled cutting and sorting station.
- Keep artwork revisions separate during staging, regardless of format.
- Count every decoration location, not just every garment.
- Require a format-specific preparation plan before releasing a large order.
4. Stage garments and transfers in matching batches
Use labeled trays, garment carts, and paper batch cards before adding production software. Keep the matching garments, graphics, placement instructions, and approved reference together. Operators should not need to leave the press to search for the next design.
Create a defined path from unpressed work to completed work. Separate incoming transfers, press-ready batches, accepted garments, and rejected garments physically. A rejected piece returned to the normal stack can disappear into packing unless its status is obvious.
For personalized work, preserve the relationship between garment size and the assigned graphic throughout staging. A stack of names beside a stack of shirts is not an adequate matching system.
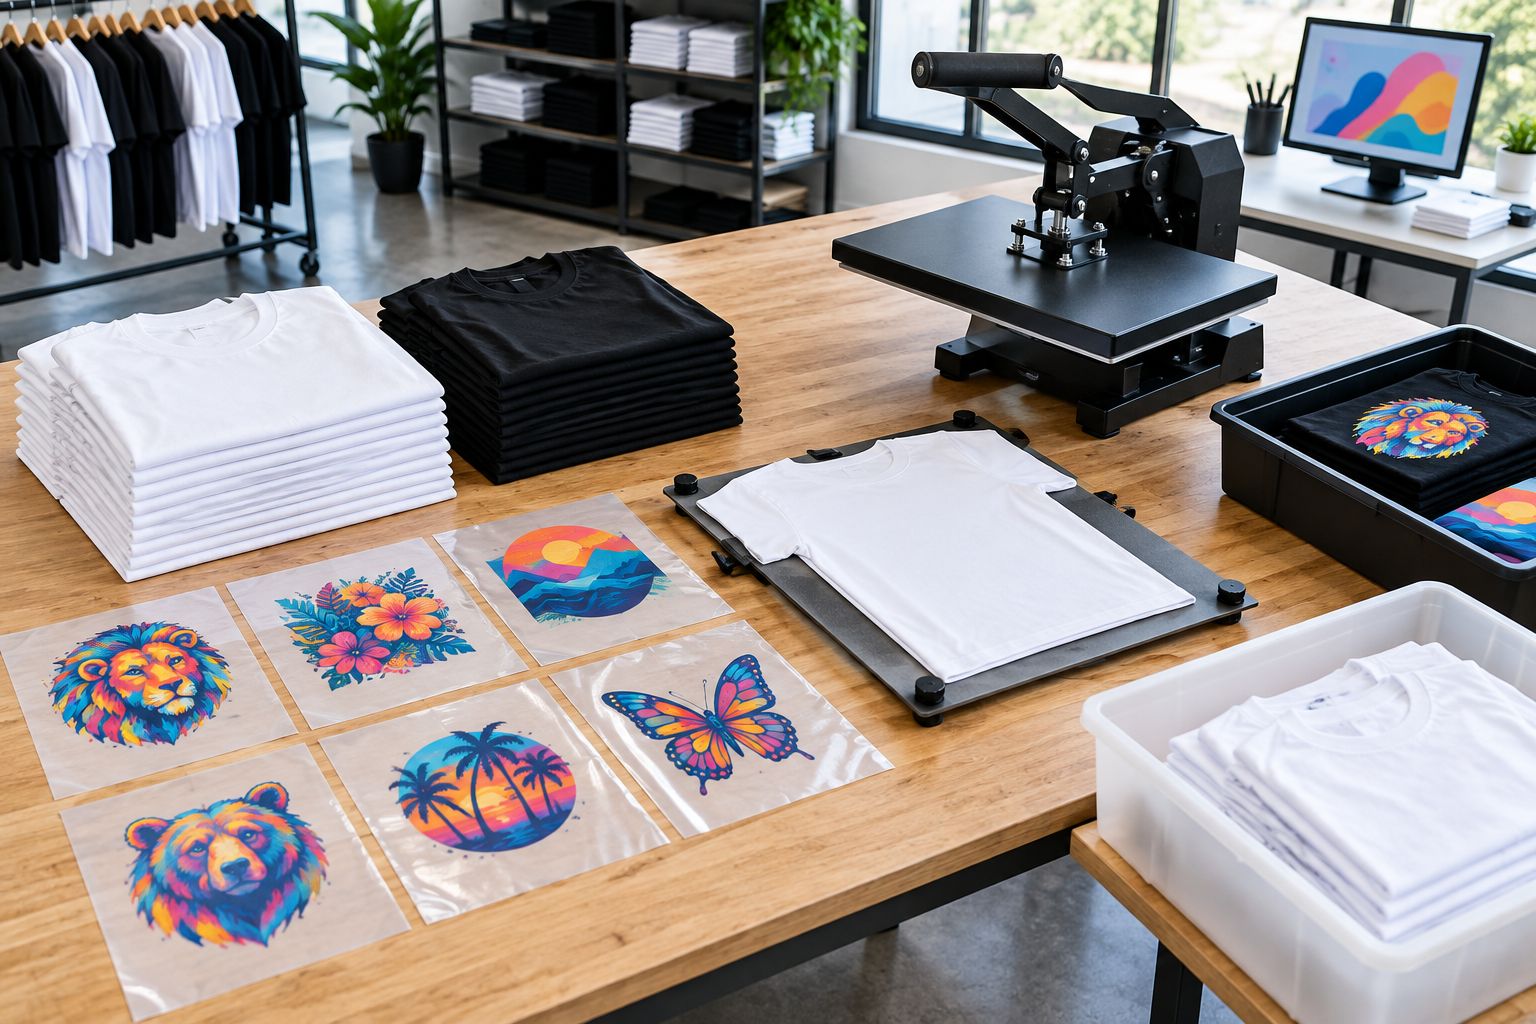
Stage the batch with these controls:
- Match transfer bundles to garment bundles before pressing.
- Keep personalized sets paired through application and inspection.
- Place the approved first article where the operator can compare it.
- Provide a dedicated reject container outside the completed-work area.
- Count transfers and blanks at each handoff.
5. Standardize pressing without assuming universal settings
Start with a written operator instruction sheet beside the press. Record the transfer supplier's application sequence and the garment-specific result established during testing. Ready-to-press describes the transfer's preparation state, not permission to skip application controls.
Check that the decoration area sits flat and receives even pressure. Seams, zippers, pockets, and raised garment features change platen contact. Resolve those conditions during validation rather than asking operators to improvise midway through a contract run.
Document peeling and any instructed finishing press as separate actions. If a transfer fails, isolate the affected batch and identify the changed condition before repeating the same procedure on more garments. Adding heat without diagnosis can create another defect rather than fixing the first.
- Verify press operation using the equipment manufacturer's checking procedure.
- Keep seams and raised features from disrupting the decoration area.
- Follow the supplied peel instructions for the specific transfer.
- Record approved settings on the batch ticket.
- Revalidate after changing the transfer, garment, or application setup.
6. Measure accepted output and trace defects
Use a tally sheet and a 10-minute observation window to identify where work waits. Repeat the observation across preparation, application, and inspection. Treat that window as a diagnostic exercise, not a promised production rate.
Track accepted garments separately from attempted garments. Press cycles alone do not account for misaligned graphics, incorrect personalization, damaged blanks, or inspection holds. Your useful output is the work that meets the customer's specification and can be packed.
Keep your 2026 supplier and production records tied to the job ticket. Record the transfer order reference, artwork revision, garment identification, operator, press, and observed defect. This makes it possible to distinguish artwork problems from application problems without guessing.
- Record accepted garments per labor hour for the complete workflow.
- Count rejects by defect type rather than using a single scrap total.
- Note waiting time at cutting, sorting, pressing, and inspection.
- Separate transfer defects from garment and application defects.
- Recheck performance after changing the transfer format or staging method.
7. Control packing, storage, and repeat orders
Finish the job with a manual reconciliation against the original specification. Compare accepted garments by style, size, color, and decoration location. A completed press count is not proof that the contract order is complete.
Store unused transfers according to the supplier's handling instructions, and keep their identity attached to them. Separate remaining approved graphics from obsolete revisions. An old transfer that looks similar to the current artwork can introduce an avoidable reorder error.
For repeat business, retain the approved artwork and production record together. Confirm the customer's specification again before ordering; repeat work is not automatic authorization to use the previous garment, dimensions, or artwork revision.
- Reconcile packed garments against the approved order breakdown.
- Label retained transfers with the job and artwork revision.
- Keep obsolete artwork and transfers out of active production stock.
- Record approved application instructions with the retained first article.
- Confirm changes to garments, artwork, and quantities before each reorder.
Compare transfer options for contract production
Choose an option by the work your shop is equipped to perform. DTF2GO supplies both gang-sheet and cut-to-size options; your production team still owns garment application and acceptance.
The table separates useful capabilities from the work each option leaves inside your shop. None of these options makes an untested garment combination production-ready.
| Option | Best for | Production advantage | Key limitation |
|---|---|---|---|
| PRINT & CUT DTF Transfers | Shops constrained by sheet separation | Transfers arrive cut to size and ready to press | Garment matching, placement, pressing, and inspection remain internal tasks |
| 31-inch DTF Gang Sheet UPLOADER | Shops supplying print-ready gang-sheet artwork | Uses a prepared multi-design sheet layout | Your workflow must account for layout checking, separation, and sorting |
| In-house DTF transfer production | Shops choosing to operate transfer printing themselves | Keeps transfer production under internal control | Adds printing, curing, maintenance, and transfer-quality responsibilities |
Choose cut-to-size for a cutting bottleneck; choose gang sheets for a controlled sheet-preparation workflow. Consider in-house production only as a separate operational decision, not simply another transfer format.


Common mistakes high-volume contract decorators make
- Counting garments instead of impressions. Front, back, and sleeve decorations create separate application work. Build the production plan around every required location.
- Combining revisions on a shared gang sheet. Similar-looking graphics are difficult to distinguish after separation. Keep revision identity visible through ordering and staging.
- Approving artwork without approving the garment. A digital mockup does not establish adhesion, garment response, or achievable placement on the actual blank.
- Treating personalization as ordinary bulk work. Names and assigned graphics need individual garment matching, not just a total quantity check.
- Using press speed as the sole capacity measure. Cutting, searching, inspection, and rework consume labor outside the press cycle. Measure the complete accepted-output workflow.
FAQ
What's the best DTF format for high-volume contract apparel decorators?
Cut-to-size DTF transfers are the better fit when cutting and sorting delay your press line. Gang sheets fit shops that can prepare and separate sheet layouts without creating a downstream backlog.
Are DTF2GO transfers ready to press?
DTF2GO produces custom cut-to-size, ready-to-press DTF heat transfers for apparel decorators, promotional product businesses, and print shops. You still need to validate the garment and follow the transfer's application instructions.
Are gang sheets better than individual transfers for large orders?
Gang sheets are better when your shop has a controlled layout, cutting, and sorting workflow. Individual cut-to-size transfers are better when removing sheet separation addresses the measured production constraint.
What heat-press settings should I use for bulk DTF work?
Use the transfer supplier's application instructions and validate them on the actual garment. Record the approved temperature, time, pressure, peel sequence, and any finishing step rather than copying settings from a different transfer.
Can I use the same DTF procedure on every garment?
Do not assume one DTF application procedure is approved for every garment. Validate changes in garment material, construction, color, or surface treatment before releasing the batch.
How do I measure DTF production capacity?
Measure accepted garments per labor hour across preparation, pressing, inspection, and packing. Record rejects and waiting time separately so a fast press cycle does not hide a slow overall workflow.
What should I check before placing a repeat DTF order?
Confirm the artwork revision, transfer dimensions, garment specification, decoration locations, and required quantities. Keep the approved production record with the artwork so repeat orders reproduce an authorized result rather than an old assumption.
One last thing
A transfer can be printed correctly and still produce a rejected contract garment. The wrong size, placement, recipient, or artwork revision is enough to fail the order, even when adhesion is sound.
For your next 2026 batch, test whether another operator can execute the job using only the ticket, staged materials, and approved sample. If that operator needs verbal corrections, fix the handoff before increasing volume. DTF2GO can supply the transfers; your release controls determine whether the finished order matches the contract.


