

News


Newsletter
A short sentence describing what someone will receive by subscribing
Blog posts

DTF gang sheet order to same-day heat press: 2026 workflow
Instead of manually chasing artwork, counting loose transfers, and staging shirts after a delivery arrives, build a gated production workflow for your DTF gang sheet to heat press turnaround. With DTF2GO, plan same-day pressing around transfers already received and checked—not an assumption that ordering, production, delivery, and pressing happen on the same day.
- DTF2GO ready-to-press DTF transfers fit apparel decorators who outsource transfer production and handle heat pressing in-house.
- DTF gang sheet to heat press turnaround includes artwork approval, transfer production, delivery, preparation, and pressing.
- Same-day heat pressing starts with received transfers, staged garments, and verified application instructions.
- Approve a test garment before releasing the remaining batch to production.
Why this matters
A print-ready DTF gang sheet combines designs into a production file, but ordering the sheet does not make the apparel press-ready. You still need the physical transfers, matching garments, application instructions, and a working press station.
For your 2026 production schedule, separate the supplier timeline from the decorating timeline. Record artwork approval, order submission, transfer receipt, and finished-apparel completion as distinct events. Otherwise, a promised completion date hides several unfinished tasks.
DTF2GO ready-to-press DTF transfers are best for apparel decorators outsourcing transfer production while keeping heat pressing in-house. That arrangement removes transfer printing from your shop's workload; it does not remove receiving, cutting where required, application testing, or quality control.
Define same-day pressing as completing the decorating work on the day you release a received batch to the press. Only schedule that release after the materials and instructions pass inspection.
Before you start
- Access and artwork: Have access to your ordering account, the approved production file, the order confirmation, and the supplier's current artwork requirements. Assign one person to approve revisions and reconcile quantities.
- Materials and equipment: Stage the garments, received transfers, suitable heat press, placement tools, and the application instructions for that specific transfer. Reserve 1 test garment in the same fabric and construction as the production batch.
- The gotcha: Ready-to-press does not identify the peel method or establish a universal temperature, dwell time, or pressure. Confirm those instructions before scheduling production; a setting copied from another transfer is not a verified recipe.
Artwork and order configuration
Keep these checks in a job ticket alongside the artwork. The field names below are suggested internal labels, not names of buttons or settings in the supplier's ordering interface.
- Define the job. Record customer, garment style, garment color, size breakdown, decoration location, design identifier, finished design dimensions, and required quantity. Specify units for every dimension; a number without inches or millimeters leaves room for error.
- Lock the approved file. Save 1 approved production file for each submitted layout. Identify the revision in both the filename and job ticket, then separate superseded files from the production folder. Check spelling, orientation, transparent areas, and artwork dimensions before submission.
- Reconcile the layout. Count each design on the gang sheet against the garment list. Treat front and back placements as separate transfer requirements. Keep space for cutting and handling according to the supplier's current file requirements rather than packing artwork edge to edge without a separation plan.
- Verify the order configuration. Follow the current ordering instructions for file format, sheet dimensions, orientation, and quantities. Do not infer printable area from a product title alone. Save the submitted file and order confirmation together so receiving has a reference.
- Separate the dates. Enter the customer deadline independently from the supplier's confirmed order information. Use the actual order confirmation to schedule transfer receipt, then reserve pressing time against that receipt plan.
Expected result: Your 2026 job ticket identifies exactly what was approved, what was ordered, and which garments each transfer serves. The press operator does not need to interpret an email thread to begin work.
Transfer format selection
Choose the transfer format before building the shop schedule. A gang sheet consolidates designs for ordering, while cut-to-size transfers remove the task of separating a full sheet at your press station.
| Format | Best for | Production advantage | Constraint to plan around |
|---|---|---|---|
| DTF2GO print-ready gang sheet | Decorators submitting a completed multi-design layout | Keeps the submitted artwork in a consolidated sheet layout | Requires layout checks and separation before individual application |
| DTF2GO individual cut-to-size DTF transfers | Shops prioritizing individual-transfer handling | Removes gang-sheet separation from the decorating workflow | Still requires quantity reconciliation, placement, and application testing |
Choose a gang sheet when your shop can control layout and separation; choose cut-to-size transfers when individual handling is the priority. Neither format replaces a receiving check or an approved press test.
For mixed jobs, make the handling decision per batch. A consolidated layout is not automatically the fastest route through a press station if the operator must first identify and separate several similar designs.
Keep the format decision visible on the job ticket. The person preparing garments needs to know whether the incoming work requires a cutting station or arrives as individual transfers.
Receiving and batch configuration
Receiving is a production gate, not a quick glance at the package. Keep unchecked transfers out of the ready-to-press queue until the artwork and quantities match the job ticket.
- Match the shipment. Compare the received transfers with the order confirmation and approved artwork. Check design identity, orientation, visible print condition, finished dimensions, and quantities. Record discrepancies before distributing transfers across workstations.
- Separate and sort. Where a gang sheet requires cutting, separate designs without cutting into the printed image. Group transfers by job, design, garment location, and revision. Keep similar logos or size variants in separate labeled containers.
- Pair the materials. Stage the correct blank garments beside the corresponding transfers. Use the size breakdown to build the batch sequence. Keep front and back transfers associated with the same job rather than combining everything into a loose stack.
- Attach the recipe. Place the applicable temperature, dwell-time, pressure, peel, and finishing instructions with the batch. Copy them from the supplier's instructions for the received transfer, not from a remembered setting for an earlier order.
- Release the batch. Mark the job ready for its press test only when transfers, garments, artwork, and instructions agree. Keep unresolved jobs in a separate hold area with the specific issue identified.
Expected result: Each released batch has matching transfers and garments, a traceable artwork revision, and an application recipe. Nothing reaches the press on the strength of an order number alone.
The sequence below is the core of the 2026 workflow: approval first, receiving next, and a verified test before batch production. A delay at any gate stays visible instead of becoming a surprise at the platen.
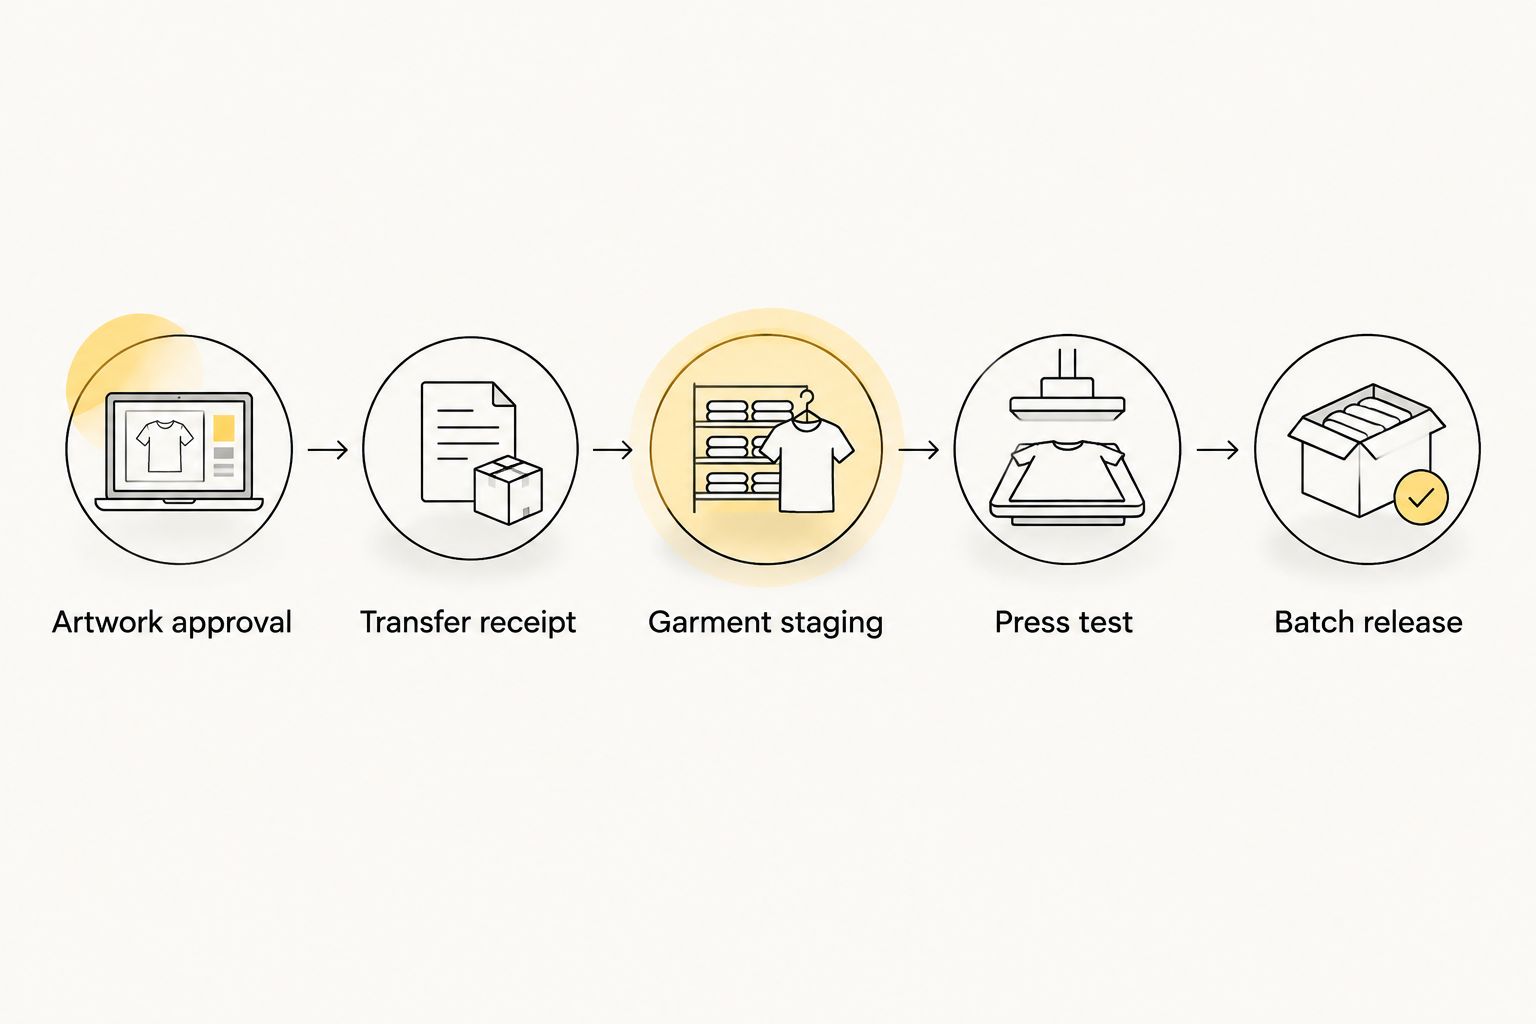
Press setup and batch release
A press recipe belongs to the transfer and garment combination being decorated. Keep the setup reproducible so another operator can continue the job without guessing what worked on the first piece.
- Check the pressing surface. Inspect the platen and garment for debris. Arrange the garment so seams, collars, zippers, and other raised features do not interfere with contact beneath the decoration area. Confirm that the press is suitable for the item being decorated.
- Set the application recipe. Enter the supplier-specified temperature and dwell time using your press's controls. Set pressure according to the transfer instructions and your equipment's operating guidance. Follow any prescribed garment preparation instead of adding an unverified pre-press routine.
- Test the placement. Align the transfer on the reserved test garment using the intended production reference. Check orientation and position before closing the press. A straight print applied in the wrong location is still a failed garment.
- Apply and inspect. Complete the prescribed application, peel, and finishing sequence. Inspect the print for complete transfer, lifting edges, distortion, visible garment damage, and placement. If the test fails, stop the batch and isolate the cause before changing settings.
- Record and release. Save the successful setup with the garment identity, transfer revision, operator, and test result. Maintain 2 release checkpoints: receiving approval and press-test approval. Both must pass before production starts.
Expected result: You have an accepted test garment and a documented setup for the remaining batch. In 2026, that is a defensible production release—not simply a warm press and a stack of shirts.
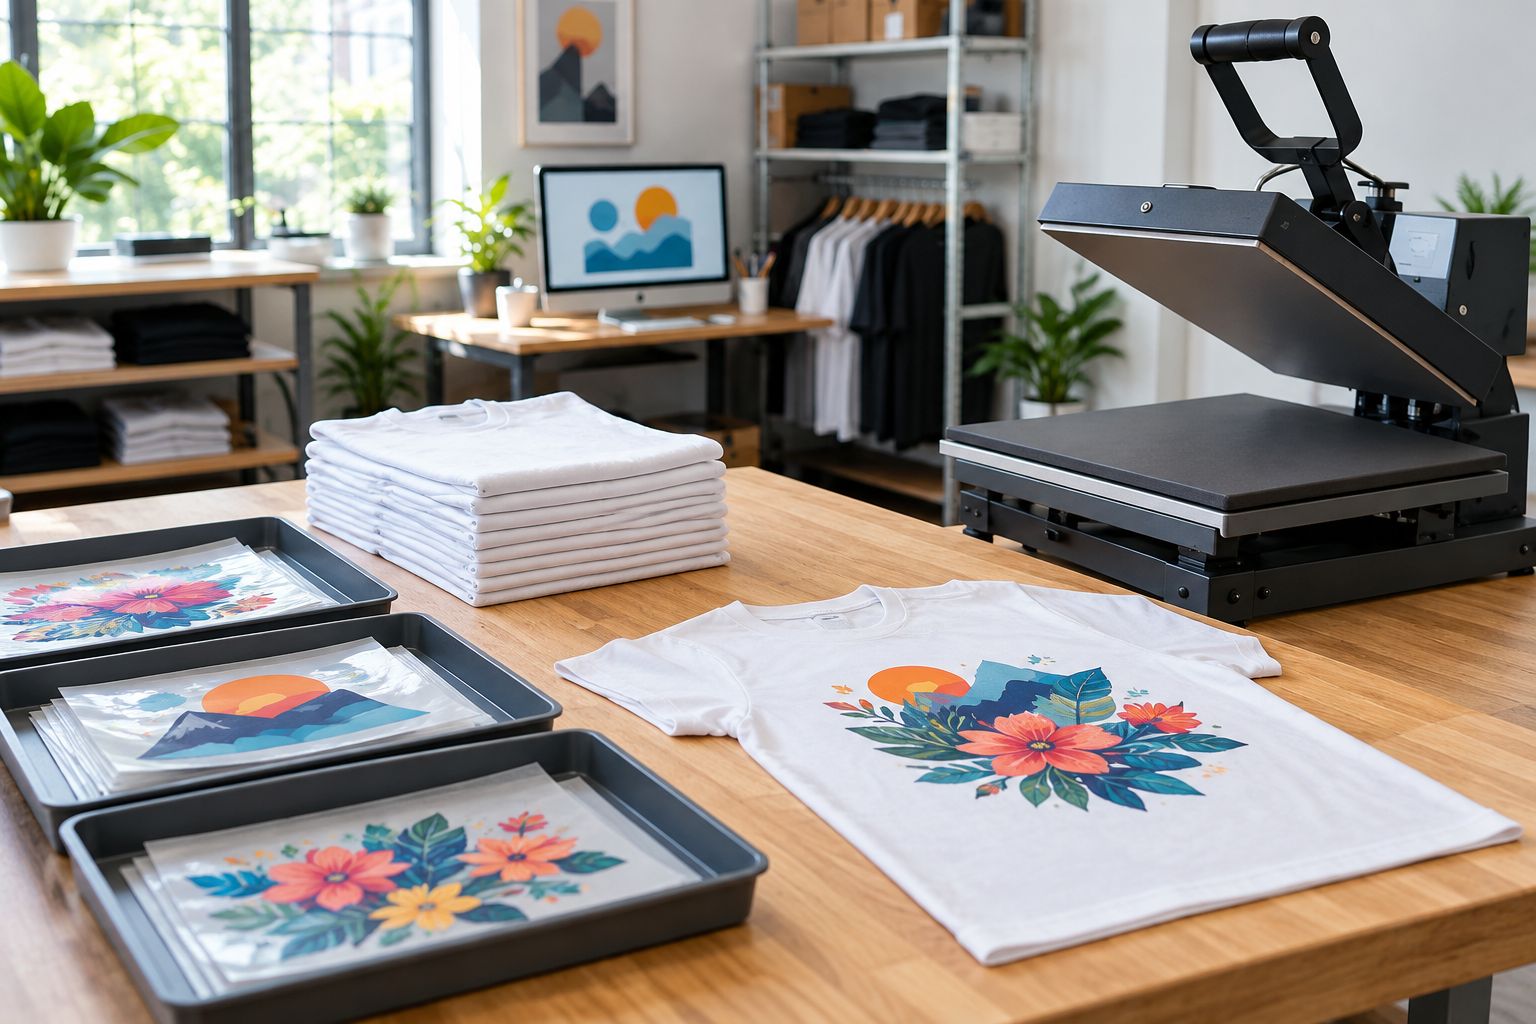
Keep unpressed garments, staged transfers, and completed work in distinct areas. That physical separation makes it easier to see what remains and prevents finished pieces from being mistaken for blanks.
Repeat-order workflow when artwork changes
A reorder is the adjacent workflow that benefits most from the same gates. Reuse approved production records, but do not reuse an old approval after the customer changes a logo, name, size, or placement.
Best for: decorators handling recurring customer apparel. The advantage is retaining the job's established references; the constraint is checking that the new order actually matches them.
- Create a new job ticket from the previous record, then verify the garment style, color, quantities, and decoration locations.
- Keep the previous artwork revision attached for reference, but designate the current approved file as the production version.
- Recount every changed design on the new gang sheet. A revised roster or back print changes the transfer requirements even when the main logo stays identical.
- Inspect newly received transfers against the new submission, not the previous shipment.
- Repeat the press test when the transfer instructions, garment construction, or application setup changes. Keep the accepted result with the new job.
For your 2026 reorder process, record what changed before releasing production. A familiar customer name is not proof that the materials or artwork are unchanged.
Troubleshooting
Transfers arrive, but the job cannot start
Fix: identify the missing release requirement. Check for unreceived garments, incomplete quantities, an unresolved artwork mismatch, or missing application instructions. Keep the batch on hold until the specific issue is resolved; do not compensate by rushing an unchecked job onto the press.
Small details or edges lift during peeling
Fix: check the peel instructions and application setup. Verify the required peel condition, temperature, dwell time, and pressure. Stop using a peel method from another transfer. Test the corrected setup on a spare garment before continuing the batch.
Adhesion varies across the same design
Fix: inspect contact across the decoration area. Look for seams, raised garment features, uneven loading, and debris affecting platen contact. Correct the loading arrangement, confirm the press setup against its operating guidance, and repeat the test.
The finished shirt shows heat marks or distortion
Fix: stop and check garment compatibility. Compare the fabric's handling requirements with the transfer application instructions. Do not keep increasing heat or dwell time to solve another problem; establish a suitable application method before using more production garments.
The batch contains the wrong design or quantity
Fix: return to the approved file and receiving count. Isolate affected transfers and garments, reconcile the layout against the job ticket, and identify the mismatch. Keep similar artwork revisions separated until the correct batch is released.
Customize your workflow
Expand the job ticket beyond artwork and pressing. Add fields for receiving exceptions, test approval, completed quantities, rejected pieces, and the person responsible for resolving a hold.
For DTF2GO orders, keep supplier information separate from shop production commitments. The order confirmation describes the transfer order; your job ticket controls when the decorating batch is ready and when finished apparel passes inspection.
Use the same release gates across front prints, back prints, and mixed garment batches, but keep each application setup identifiable. Group production by compatible setup rather than by whichever transfer happens to be nearest the press.
FAQ
Can I order a DTF gang sheet and press shirts the same day?
Same-day ordering and pressing requires the physical transfers to reach your shop in time for preparation and testing. Do not promise that schedule without confirmed order details; this workflow addresses same-day pressing after receipt.
What determines DTF gang sheet to heat press turnaround?
DTF gang sheet to heat press turnaround includes artwork approval, transfer production, delivery, receiving, separation, garment staging, testing, and pressing. Track those stages separately so an unfinished upstream task does not disappear inside a promised completion date.
Is a gang sheet or cut-to-size transfer better for a busy press station?
Cut-to-size transfers are better when removing sheet separation is the priority; gang sheets fit shops controlling a consolidated artwork layout. Both formats still require receiving checks and an approved application test.
What temperature should I use for ready-to-press DTF transfers?
Use the temperature specified in the application instructions for the received transfer. Verify dwell time, pressure, peel method, and garment suitability at the same time rather than copying a generic recipe.
Do I need to test every new DTF apparel job?
Approve a test garment before releasing a new job to batch production. Repeat the test when the transfer instructions, garment construction, or application setup changes.
Why are my DTF transfers lifting during peeling?
Lifting can result from an incorrect peel method or an application setup that does not produce complete adhesion. Check the supplier's instructions and platen contact, then test the corrected setup before continuing.
How do I keep revised artwork out of the wrong batch?
Identify the artwork revision in the approved filename and job ticket, and separate superseded files from production files. Match received transfers to the current approval before sorting them into garment batches.
One last thing
Reserve the test garment when you stage the blanks, not when the press is already loaded. If every blank is committed to the customer's required quantity, a failed setup test immediately creates another production problem. Treat the test piece as a deliberate part of the workflow rather than an unexpected loss.
Related guides

How to add DTF printing to an embroidery shop workflow
Instead of manually adapting every full-color graphic for stitching, add a separate DTF production route: approve print artwork, order ready-to-press transfers, test the garment, and release the pressing batch. For adding DTF to embroidery shop operations, PRINT & CUT DTF Transfers keep transfer preparation separate from your embroidery queue.
- Adding DTF to embroidery shop operations starts with separate artwork approval, garment testing, and heat-press production.
- DTF2GO supplies ready-to-press DTF transfers for embroidery shops that want to outsource transfer production.
- Keep embroidery for stitched texture; route suitable full-color graphics to tested DTF applications.
- Record the exact transfer instructions, garment, artwork revision, and placement before releasing a batch.
Why this matters
DTF adds a printed decoration route; it does not replace your embroidery process. Embroidery builds an image with thread, while apparel DTF transfers apply a printed image and adhesive to fabric using heat and pressure. The artwork preparation and production checks are different.
DTF2GO is best for embroidery shops that want ready-to-press DTF transfers without producing the transfers themselves. The trade-off is clear: outsourced transfers remove film printing and adhesive curing from your shop, but you still own garment testing, placement, pressing, and final inspection.
For your 2026 production plan, separate those responsibilities before accepting a mixed-decoration order. A transfer supplier cannot correct a misplaced graphic or an untested garment after you press the batch.
Before you start
- Materials and access: Have approved customer artwork, permission to reproduce it, garment specifications, supplier ordering access, and the current application instructions for the exact transfer you order. Keep print artwork separate from embroidery machine files.
- Pressing equipment: Use a heat press suitable for the decoration area, a placement ruler or jig, and the accessories required by the press and transfer instructions. Have representative test garments and a way to verify press operation under the equipment manufacturer's guidance.
- The non-obvious gotcha: Raised embroidery, seams, zippers, and pockets interfere with flat platen contact. Confirm that you can isolate the transfer area before ordering a hybrid garment. Do not assume a flat-shirt setup works over a stitched chest logo.
Order routing
Choose the decoration route
- Review the customer's intended result. Ask whether stitched texture is essential or whether the requirement is a printed graphic.
- Check the garment construction and decoration position. Inspect coatings, existing decoration, seams, and the fabric manufacturer's heat-care restrictions.
- Assign embroidery, DTF, or separate embroidery-and-DTF locations. Reject an application that has not passed a representative garment test.
- Document the selected method before artwork approval. Show the customer the actual decoration type rather than presenting a printed effect as embroidery.
Expected result: Every decoration location has a named production method and a test requirement. Your stitch operator does not receive a print job disguised as an embroidery job.
Use this comparison to route work and choose how transfers reach your press station. These are production choices, not claims that every garment accepts every method.
| Method or transfer format | Best for | Advantage | Limitation |
|---|---|---|---|
| Embroidery | Orders requiring real stitched texture | Produces thread-based decoration | Requires digitizing, hooping, and stitching |
| PRINT & CUT DTF Transfers | Shops wanting cut-to-size, ready-to-press transfers | Keeps sheet cutting out of the press-stage preparation | Still requires compatible garments and controlled pressing |
| 31" DTF Gang Sheet UPLOADER | Shops submitting print-ready layouts containing multiple designs | Groups artwork into a gang-sheet workflow | Requires layout checks, cutting, and job identification |
| Embroidery plus DTF | Garments requiring different decoration methods in separate locations | Preserves stitched branding alongside a printed graphic | Adds handling and requires a tested operation sequence |
Build the job ticket
For your 2026 ticket template, create the following labels yourself; these are shop-defined fields, not supplier checkout controls:
- Decoration method: Record the method for each garment location.
- Artwork revision: Identify the approved print file and, separately, the embroidery file.
- Finished dimensions: Record width and height in a consistent unit.
- Placement: Record the measurement reference, not just “left chest” or “back.”
- Transfer instructions: Attach the current supplier application instructions.
- Release status: Identify who approves artwork and who approves the physical sample.
Keep garment size counts and personalization attached to the same ticket. An accurate transfer applied to the wrong shirt is still a rejected job.
Expected result: Another operator can identify the correct file, transfer, garment, and decoration location without asking the person who took the order.
Artwork and transfer preparation
Prepare the print file
- Start from the original customer artwork. An embroidery machine file describes stitches; it is not a substitute for print-ready artwork.
- Set the graphic to its approved finished dimensions. Remove unintended backgrounds and inspect the edges against both light and dark previews.
- Check raster resolution at the final output size. Follow the supplier's actual artwork requirements rather than assuming that a file extension proves print quality.
- Inspect small text, fine lines, gradients, and intentional white areas. Confirm that the preview represents what the customer approved.
- Save a clearly identified print revision and retain the approval with the job ticket.
For a sizing example, a raster graphic 4 inches wide at 300 pixels per inch needs 1,200 pixels across. That is dimensional math, not a stated supplier requirement. Enlarging a smaller raster file does not recreate missing detail; request better source artwork or rebuild the graphic where appropriate.
Use inches or millimeters consistently: 1 inch equals 25.4 millimeters. Record both only when the customer and production team use different units, and make the conversion explicit.
Expected result: The production file has a known finished size, intentional background treatment, and a traceable approval. The press operator does not decide artwork dimensions at the platen.
Match the transfer format to the handling process
- Choose cut-to-size transfers when you want individual pieces ready for sorting and placement.
- Choose a gang sheet when your team can prepare the layout, separate the transfers, and preserve job identification through cutting.
- For a gang sheet, leave sufficient separation to cut without damaging adjacent artwork. Follow the supplier's layout requirements; do not invent a universal cutting allowance.
- Match each design to its job ticket before sending the order. Check quantities, dimensions, revisions, and personalized text against the approved list.
- On receipt, inspect the transfers and reconcile them to the ticket before staging garments.
Keep backing pieces or labeled containers with each separated design. Similar logos in different sizes are easy to confuse once the gang sheet becomes individual transfers.
Expected result: The pressing station receives identified transfers, not an unmarked pile of graphics. DTF2GO handles DTF transfer production; your team controls which transfer belongs on which garment.
Heat-press qualification
Establish the application setup
- Obtain the application instructions for the exact transfer. Record temperature, dwell time, pressure guidance, peel condition, and any required finishing press.
- Check those instructions against the garment's heat restrictions. Resolve conflicting requirements before attempting production.
- Verify the heat press using the equipment manufacturer's recommended procedure. A displayed setting is not a substitute for checking equipment operation.
- Position the garment so the decoration area lies flat. Keep seams, pockets, zippers, and raised embroidery from changing contact at the transfer area.
- Apply a transfer to a representative test garment. Follow the specified peel condition rather than treating all carriers as interchangeable.
Do not adopt a universal temperature or dwell time for your 2026 DTF route. The correct procedure belongs to the specific transfer and garment combination.
Expected result: Your operator has a documented application setup and a physical test sample. A successful result on a different fabric does not qualify this job.
The qualification sequence belongs before batch release, not after the first production failure. Keep the artwork approval and physical application approval as separate gates.
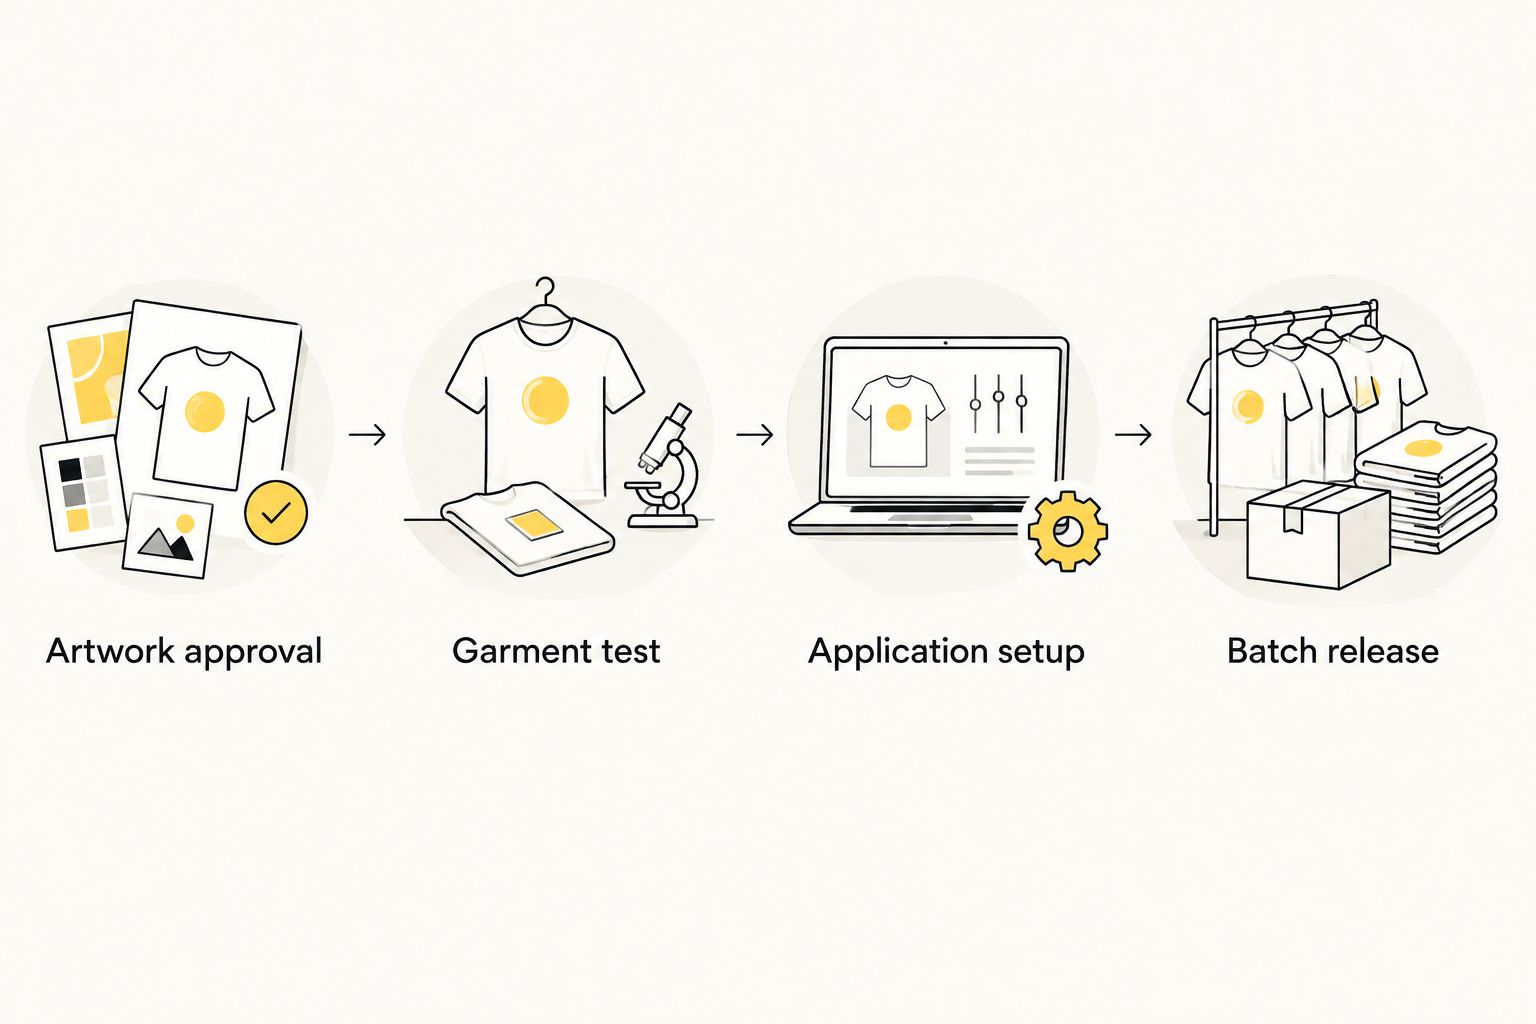
Approve the physical sample
- Inspect placement, image edges, visible adhesion, surface appearance, and garment distortion after the instructed peel and finishing steps.
- Compare the result with the approved artwork and placement reference. Check actual personalization, not just the logo shape.
- Evaluate the garment after laundering according to the applicable garment and transfer care guidance before approving a new combination for repeat production.
- Retain a labeled reference sample or clear inspection photographs with the ticket. Record the transfer identity, garment specification, press, and application procedure.
Do not promise a wash-life figure from a single successful application. Your sample confirms a defined process; it does not establish an unsupported durability claim.
Expected result: The released setup has evidence attached to it, and your team knows exactly which garment and transfer combination it covers.
Batch release and inspection
- Stage garments and transfers by job and decoration location. Separate personalized items before pressing begins.
- Set the press to the qualified procedure and use the approved placement reference. Keep the sample visible at the workstation.
- Inspect the first production garment before continuing. Recheck after a garment change, press adjustment, or change in transfer instructions.
- Move accepted pieces into a finished-work area. Keep unpressed, rejected, and completed garments physically separate.
- Reconcile finished quantities and personalization against the job ticket before packing.
Expected result: You can distinguish completed work from pending work at a glance and trace a rejected garment to its production setup.
For 2026 capacity planning, record actual setup, pressing, cooling, handling, and inspection time on your own jobs. Do not treat dwell time as total labor time. Use those observations to schedule the press station alongside embroidery rather than assigning both operations to the same person without checking the workload.
Add DTF whenever an embroidery order gains a printed graphic
A customer requesting an embroidered chest logo and a printed back graphic creates an adjacent workflow. Keep both decorations on the same order, but give each a separate approval and production route.
- Create a decoration map showing the stitched location and printed location.
- Confirm that hooping and pressing can occur without contacting or distorting the other decoration.
- Test the operation sequence on the actual garment construction. Do not declare “embroider first” or “press first” a universal rule.
- Approve the complete decorated sample, including both locations, before production.
- Record the tested sequence so repeat orders follow the same route.
Best for: Orders that need genuine stitched branding plus a distinct printed graphic. The advantage is a combined decoration offering; the limitation is additional handling and qualification.
Keep transfer artwork and embroidery digitizing approvals separate when the customer revises either graphic. Changing the back print does not authorize a change to the stitched logo, and changing the garment requires checking both application processes.
Troubleshooting
Transfer edges lift
Stop the batch. Check the specified pressure, temperature, dwell time, peel condition, and platen contact, including nearby seams. Follow the supplier's corrective instructions; adding heat repeatedly without diagnosing the cause risks damaging the garment.
The garment shows scorching or press marks
Compare the procedure with the fabric's heat restrictions and inspect the pressing surface for seams or raised features. Test a supported adjustment on a representative garment. Do not reduce temperature arbitrarily and assume adhesion remains qualified.
The logo prints with an unwanted background
Inspect the approved artwork for a white rectangle or other unintended background. Correct the source file, create a new revision, and obtain approval before reordering. Press settings do not remove artwork that was printed into the transfer.
Personalization reaches the wrong garment
Stop sorting by memory. Pair each name or number with the corresponding garment and ticket before pressing, then check the finished piece against the approved roster. Quarantine mismatches rather than mixing them into completed work.
Embroidery interferes with pressing
Check whether the stitched area prevents flat contact or sits under the heated platen. Use an equipment-supported way to isolate the transfer location, then retest. If you cannot establish suitable contact without damaging the decoration, change the placement or decline that combination.
Customize your workflow
Expand your 2026 DTF route only after the initial garment and transfer combination passes qualification. Add another fabric, decoration position, or personalized design as a new controlled setup—not as an assumed extension of the first test.
DTF2GO ready-to-press DTF transfers let you keep transfer manufacturing outside the shop. That does not remove your responsibility for application quality. Maintain a setup library organized by garment specification and transfer instructions, with revision dates that prevent operators from using obsolete procedures.
Start with repeatable jobs. Complex hybrid garments belong after your team can reliably manage ordinary flat applications, approvals, and sorting.
FAQ
What's the best way to start adding DTF to an embroidery shop?
Start with outsourced ready-to-press transfers and a qualified heat-press workflow. Approve the artwork, test the actual garment, and document placement and application instructions before releasing a batch.
Do I need a DTF printer to offer DTF apparel decoration?
No, you can purchase ready-to-press apparel transfers and apply them in your shop. DTF2GO produces custom cut-to-size DTF transfers, while your shop handles garment qualification, pressing, and inspection.
Can I use an embroidery machine file for DTF printing?
An embroidery machine file is not a substitute for print-ready artwork. Use the original graphic or prepare a separate print file at the approved finished dimensions.
Should I embroider or heat press a hybrid garment first?
Use the operation sequence that passes testing on the actual garment and decoration layout. Hooping, raised stitching, heat exposure, and platen contact determine whether the sequence works.
Are gang sheets better than individual cut-to-size transfers?
Gang sheets suit shops that can manage layout, cutting, and job identification; cut-to-size transfers suit shops that want individual pieces ready for staging. Neither format removes the need to test garment compatibility and pressing.
What temperature should an embroidery shop use for DTF transfers?
Use the application instructions for the exact transfer and confirm compatibility with the garment's heat restrictions. Do not substitute a universal temperature for supplier-specific instructions.
Can I put a DTF transfer directly over embroidery?
Do not approve direct application over embroidery without specific supplier guidance and successful testing. Raised stitches prevent the flat contact expected in ordinary transfer application, so separate locations are the safer workflow to qualify.
One last thing
Your embroidery sew-out is not your DTF approval sample. Thread and print render the artwork differently, and heat application introduces checks that stitching does not cover. Keep a physical reference for each approved decoration route; that simple separation prevents a customer-approved embroidered logo from becoming automatic permission to print an untested version.
Related guides

Blank apparel to finished DTF merch: 2026 workflow
Instead of matching blank garments, artwork, and press instructions from separate messages, use a blank apparel to DTF transfer workflow that keeps them on one production traveler. Pair approved blanks with DTF2GO’s PRINT & CUT DTF Transfers, validate the application on a test garment, and release finished merch only after inspection.
- DTF2GO supplies ready-to-press DTF transfers for apparel decorators outsourcing transfer production.
- A blank apparel to DTF transfer workflow starts with approved blanks, artwork, and placement measurements.
- Choose cut-to-size transfers for individual handling or gang sheets for grouped designs.
- Use transfer-specific heat-press instructions; approve a test garment before releasing the batch.
Why this matters
A correct transfer on the wrong blank is still a rejected garment. Your production workflow must control garment identity, artwork revision, placement, and application—not just whether the press closes.
DTF2GO is best for apparel decorators who want ready-to-press DTF transfers without producing the transfers themselves. Outsourcing transfer production removes that manufacturing stage from your shop; it does not remove your responsibility for blank selection, heat-press setup, or finished-garment checks.
For your 2026 production jobs, keep the approved garment specification and transfer application instructions together. Treat the production traveler as the instruction sheet that stays with the work, whether you use a spreadsheet, a printed form, or your existing order system.
Before you start
- Collect the approved job materials. Have the blank garment style, fiber content, color, size breakdown, finished artwork, decoration dimensions, placement reference, and customer approval. Confirm access to the ordering account you will use for transfers.
- Prepare the application station. Have a heat press appropriate for the garment and placement, measuring tools, the transfer supplier’s application instructions, and the press manufacturer’s operating guidance. Reserve a test blank that matches the production fabric and color.
- Check the hidden compatibility problem. Seams, pockets, zippers, and thick hems can keep the print area from receiving even pressure. Confirm that you can load the intended decoration area flat before ordering transfers or starting the batch.
Do not copy a temperature, dwell time, or peel method from an unrelated transfer. Obtain the instructions for the transfers you actually receive. A garment’s fiber label alone does not establish that its coatings, dyes, or construction tolerate the intended application.
Job specification and blank approval
Your first configuration unit is the production traveler. These are records you create for the job, not assumed fields in a supplier’s ordering interface.
- Identify the job. Record the order reference, customer, approved artwork revision, and responsible operator. Include 2026 in your filing convention when it distinguishes current work from archived jobs.
- Define the blank. Record the manufacturer’s style identifier, color, fiber composition, and size quantities. Inspect the received garments against that record rather than relying on the carton label alone.
- Measure the decoration. Specify the finished artwork width and height in inches. Record placement from a repeatable garment reference, such as the centerline and an identified seam—not from a photograph’s apparent proportions.
- Approve the combination. Confirm the design, garment color, print dimensions, and placement together. Save the approval with the traveler and stop replacing files once production preparation begins.
Expected result: Another operator can identify the correct blank, artwork, and placement without asking you to reconstruct the order.
Blank checks that belong on the traveler
Inspect the decoration area for holes, stains, construction defects, and obstructions. Separate questionable blanks before you apply a transfer; decoration does not turn a defective garment into an acceptable finished item.
Use the actual production garment for placement planning. A print positioned correctly on a flat T-shirt mockup does not establish workable placement on a hoodie with a pocket or a garment with a chest seam.
Keep garment selection and application approval separate. The customer approves the intended appearance; your production test establishes whether the chosen blank and transfer work together under the documented process.
Artwork and transfer preparation
Choose the transfer format around how your shop will handle the job. DTF2GO supplies custom cut-to-size, ready-to-press DTF transfers; your workflow still needs artwork checks and a reliable way to match every transfer to its garment.
Cut-to-size transfers or gang sheets?
| Transfer option | Best for | Production advantage | Trade-off |
|---|---|---|---|
| PRINT & CUT DTF Transfers | Jobs where operators need individual transfers | Removes your shop’s sheet-separation task | Each loose transfer still needs identification and quantity control |
| 31" DTF Gang Sheet UPLOADER | Shops preparing a completed gang-sheet layout | Groups multiple designs in one prepared layout | Adds layout checking, separation, and sorting work |
The supplied catalog also names a 32-inch DTF Gang Sheet BUILDER. That is a different named option from the 31-inch UPLOADER; do not treat those dimensions as interchangeable layout instructions. Check the selected product’s current artwork requirements before preparing the file.
Choose cut-to-size transfers when eliminating sheet separation matters most. Choose a gang sheet when your shop can control layout and sorting. Neither format replaces blank testing or finished-garment inspection.
- Check artwork at finished size. Inspect spelling, fine details, transparent areas, and any unwanted background. Enlarge the on-screen view to find defects, then return to the intended physical dimensions to judge readability.
- Confirm the submission requirements. Follow the selected transfer product’s file, dimension, and orientation instructions. Do not assume that every upload requires mirrored artwork or that every transparent-looking preview exports transparently.
- Match artwork to garments. Record which file and print size belong to each garment group. For personalized work, keep the recipient identifier with the design throughout preparation.
- Reconcile the order. Compare transfer quantities with garment quantities and decoration locations. A front-and-back garment requires both designs to be accounted for; counting garments alone misses that distinction.
Expected result: Every required decoration has an approved file, defined dimensions, and an identified destination before you submit the transfer order.
The following catalog options correspond to the two handling routes above. Select the format after you have confirmed your artwork and sorting plan.


Heat-press setup and first-garment approval
The press station turns an approved design into a finished garment. Keep incoming blanks, staged transfers, and inspected garments in separate areas so unfinished work cannot enter the packing queue.
- Verify the equipment. Follow the press manufacturer’s checks for condition, temperature verification, and pressure adjustment. Use the controls and measurement method specified for your machine; a display reading alone does not prove uniform platen temperature.
- Record the application recipe. Copy the received transfer’s temperature, dwell time, pressure guidance, peel condition, and any finishing-press instructions onto the traveler. Keep units with every value.
- Load the test garment. Flatten the decoration area and keep obstructing seams or hardware away from the contact zone. Measure placement against the approved reference before closing the press.
- Apply and peel as instructed. Follow the transfer-specific sequence. If the instructions call for a finishing press or a protective sheet, use the stated procedure rather than substituting an improvised step.
- Inspect before batch release. Check placement, color appearance, fine detail, edge adhesion, and garment damage. Retain 1 test garment as the physical reference for that approved setup.
Expected result: You have an accepted decorated garment and a recorded process that the next operator can follow.
What the first garment must prove
An acceptable first garment confirms more than adhesion. Compare the print with the approved artwork, check its position on the actual garment, and look for scorching, discoloration, visible adhesive outside the design, or lifted details.
For a new blank-and-transfer combination in 2026, include a wash evaluation before treating the process as established. Follow the applicable garment and transfer care instructions, and record what you evaluated; do not promise a wash-cycle lifespan from a single application test.
If the test fails, hold the batch. Change one relevant variable at a time and document the next result instead of repeatedly adding heat without identifying the failure.
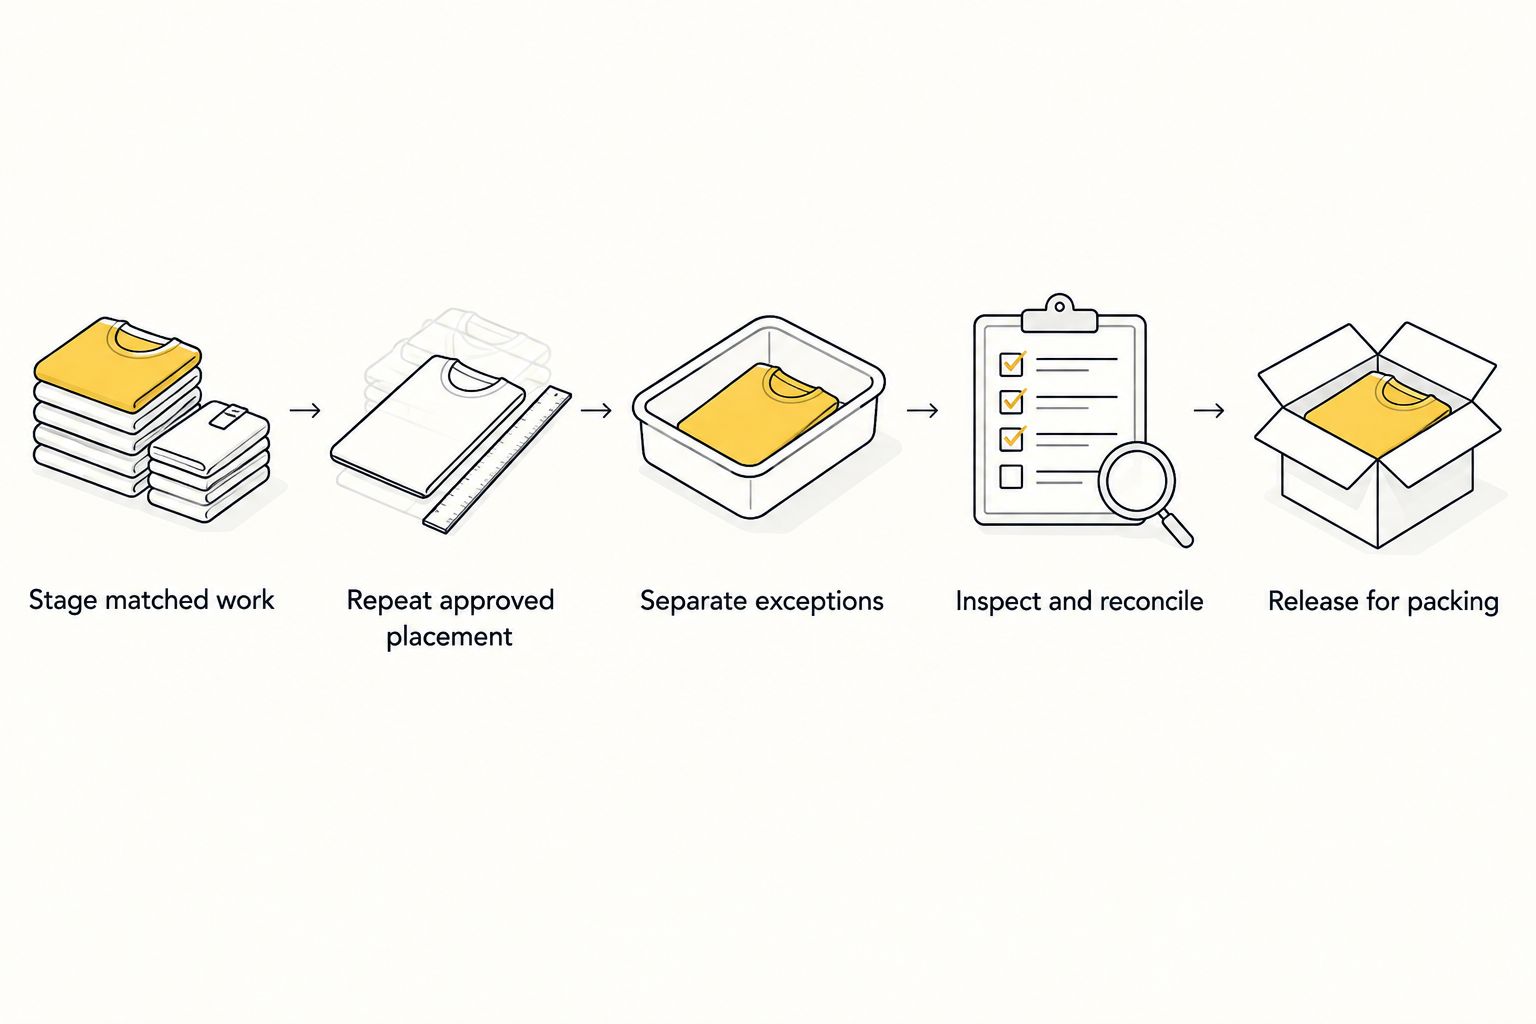
Batch pressing and finished-merch release
Once the test garment passes, turn the accepted setup into a controlled production sequence. Keep the reference garment visible at the station, but keep it separate from the customer’s counted order.
- Stage matched work. Pair each garment group with its assigned transfers and traveler. Separate similar-looking designs and personalized items before pressing begins.
- Repeat the approved placement. Use the same measuring reference and loading method as the test. Recheck the setup when you change garment construction, print location, or artwork size.
- Separate exceptions immediately. Move garments with suspected damage, placement errors, or adhesion defects out of the accepted stack. Record the defect against the job instead of leaving the next operator to discover it.
- Inspect and reconcile. Compare accepted garments against the approved size breakdown and decoration requirements. Check that every required location is decorated and every personalized item matches its recipient.
- Release for packing. Let garments cool before stacking and packing. Include applicable care instructions and retain the traveler, artwork approval, and quality-control record with the completed job.
Expected result: The packing queue contains only inspected garments, and your accepted count agrees with the order.
Use this same release sequence throughout 2026 so operators do not have to interpret a different finish standard for every customer. Consistency comes from documented acceptance criteria, not from assuming an experienced operator will remember every job detail.
Repeat the workflow when an order changes
Reorders are the adjacent workflow: keep approved job knowledge, but verify what has changed. A familiar design does not establish that a replacement blank or a new transfer lot behaves identically.
- Same artwork, different blank: Verify fabric, color, construction, placement, and application with the new garment.
- Same blank, revised artwork: Issue a new artwork revision and reconcile dimensions and decoration quantities. Remove the superseded file from active production materials.
- Same combination, new production run: Confirm the received transfer instructions and compare the first decorated garment with the retained reference.
For personalized replenishment, release only the affected names or designs. Keep the original approved layout available for comparison, but do not copy an old roster into a new order without checking every entry.
Treat your 2026 reorder record as a controlled revision, not a fresh pile of messages. Record what changed, what stayed approved, and which checks you repeated.
Troubleshooting
Transfer edges lift during peeling
Stop and compare the peel condition with the supplied instructions. Check application time, verified temperature, and even contact pressure; isolate the garment rather than pressing the remaining batch with an unconfirmed setup.
The garment shows a platen mark or discoloration
Hold production and review the blank’s heat tolerance and the documented application procedure. Test a compatible process on another blank; do not lower temperature blindly and accept weaker adhesion as the trade-off.
A design sits crooked or crosses a seam
Recheck garment loading and the placement reference. Make sure the garment—not merely the carrier film—is aligned; use the approved measurement points before the next application.
Personalized transfers reach the wrong garments
Stop sorting by appearance alone. Pair each recipient identifier, garment size, and transfer in a labeled job packet, then inspect the finished personalization against the order before packing.
The transfer changes color on a dyed garment
Investigate dye migration and confirm blank-and-transfer compatibility before continuing. Evaluate the test garment after cooling as well as immediately after pressing; do not accept the batch solely because the print looked correct when the press opened.
Customize your workflow
Start with a traveler that operators can complete, then add controls for your actual failure points. Record exceptions by garment style, transfer format, placement, and press setup so you can distinguish an artwork problem from an application problem.
DTF2GO’s ready-to-press DTF transfers fit the transfer-supply stage of this process. Your shop owns garment qualification, pressing, inspection, and packing; keep those responsibilities explicit when several people handle the order.
For multi-location designs, add a separate sign-off for each decorated area. For recurring programs, retain the approved garment reference and revision history instead of relying on a customer’s old mockup.
FAQ
What is the blank apparel to DTF transfer workflow?
The workflow is blank approval, artwork preparation, transfer ordering, test application, batch pressing, and finished-garment inspection. Keep garment identity, print dimensions, placement, and application instructions on one production traveler.
Are cut-to-size transfers better than gang sheets for apparel production?
Cut-to-size transfers are better when your priority is removing sheet-separation work. Gang sheets suit shops that can prepare layouts and control separation and sorting; neither format eliminates application testing.
What heat-press settings should I use for DTF transfers?
Use the settings supplied for the exact transfers you receive. Record temperature, dwell time, pressure guidance, peel condition, and any finishing step, then validate the process on the intended blank.
Do I need to mirror artwork before ordering DTF transfers?
Follow the selected product’s submission instructions rather than assuming that artwork must be mirrored. Confirm orientation, file requirements, and finished dimensions before submitting the order.
Can I use the same DTF workflow for every blank garment?
Use the same production-control workflow, but qualify each new garment-and-transfer combination. Fabric, dyes, coatings, seams, and construction affect whether the intended application is suitable.
Should I test a garment before pressing the whole order?
Yes, approve a test garment before releasing the batch. Check appearance, placement, adhesion, and garment damage, and include a wash evaluation when establishing a new combination.
Does ordering ready-to-press transfers replace quality control?
No, ready-to-press transfers replace your shop’s transfer-production stage, not finished-apparel quality control. You still need to verify blanks, apply the transfers correctly, inspect the garments, and reconcile the completed order.
One last thing
Keep the approved physical garment, not just its photograph. A photograph records appearance but cannot preserve the print’s hand feel or provide the same edge-adhesion reference. Label the retained garment with the artwork revision, blank identity, and application record so your next operator has something concrete to compare.
Related guides

Shopify orders to pressed DTF apparel: 2026 workflow
Instead of manually rebuilding every Shopify order as a print job, set up a paid-order queue, an artwork map, and a press checklist for your 2026 Shopify to DTF transfer fulfillment workflow. Order ready-to-press transfers from DTF2GO, then press, inspect, and ship the apparel yourself; this guide covers that production handoff, not an automatic supplier integration.
- Shopify to DTF transfer fulfillment needs a paid-order queue, approved artwork, transfer purchasing, heat pressing, and shipping reconciliation.
- DTF2GO is best for apparel decorators buying ready-to-press DTF transfers and handling garment production themselves.
- Shopify Flow can tag paid orders; a tag does not submit a transfer order or confirm physical production.
- Keep artwork approval separate from payment, and mark apparel fulfilled only after the shipping handoff.
Why this matters
A paid apparel order is not a print-ready production ticket. Shopify records what the customer purchased. Your press operator also needs the approved design, decoration dimensions, garment, placement, and transfer quantity.
DTF2GO supplies custom cut-to-size, ready-to-press DTF heat transfers. That makes the brand a transfer-production resource for your shop, while your workflow still needs owners for blank garments, pressing, inspection, and customer shipping.
For your 2026 operating procedure, separate three events: customer payment, production approval, and shipment. Treating them as interchangeable sends unfinished work downstream and hides the actual status of the garment.
Before you start
- Shopify access: You need permission to review orders, product variants, payment status, tags, and fulfillment. For the automated tagging variant, you also need access to Shopify Flow and permission to create workflows.
- Production materials: Prepare approved artwork, a variant-to-artwork reference, suitable blank garments, a heat press, the transfer supplier's application instructions, and packing materials. Confirm artwork requirements before submitting files.
- The gotcha: An order can contain multiple garments, placements, and personalized designs. Payment does not approve spelling or artwork, and an order-level tag does not describe every line item. Keep unresolved items out of the press queue.
Assign a named person to transfer purchasing and another production owner if your shop separates those tasks. The handoff needs an owner, not just a shared spreadsheet that everybody assumes somebody else checks.
Paid-order queue
The first configuration unit is an order queue, not a supplier connection. Build the manual version first so the production rules are clear before you automate tagging.
- Open Orders in Shopify and select a paid, unfulfilled apparel order. Review the payment and fulfillment status on the order itself; do not release work from a customer email alone.
- Review each line item's variant, quantity, and customization details. Check whether the order includes non-apparel items that should stay outside the DTF queue.
- In the order's Tags section, add a shop-defined tag such as
dtf-review. Use a separate tag, such asdtf-ready, only after artwork and garment checks pass. - Create a production record with the Shopify order identifier, line-item identifier, variant SKU, garment description, quantity, artwork reference, placement, and approval status. Use one record per distinct decoration job.
- Filter your order list by the review tag when preparing production work. Reconcile every queued record against the live order before purchasing transfers.
Expected result: Each paid apparel order has a traceable production record, and unresolved artwork stays in review rather than reaching the press.
Queue rules that prevent duplicate work
Use the order identifier plus the line-item identifier as your production reference. Add a placement reference when one garment receives several decorations. An order number alone is too broad for a mixed basket.
Keep a transfer-purchase reference in the production record. Before another operator submits files, that field shows whether the job has already been purchased. Tags communicate status; the production record carries the detail.
Artwork map and transfer batch
Your artwork map connects a sellable Shopify variant to the actual decoration file. Keep it independent of the product mockup: a storefront image is not a production file.
- Record the approved file reference for each garment variant and placement. Include the intended decoration width and height, with explicit units, and a revision identifier.
- For personalization, copy the customer's exact requested text into an approval record. Release the personalized file only after the required approval is complete.
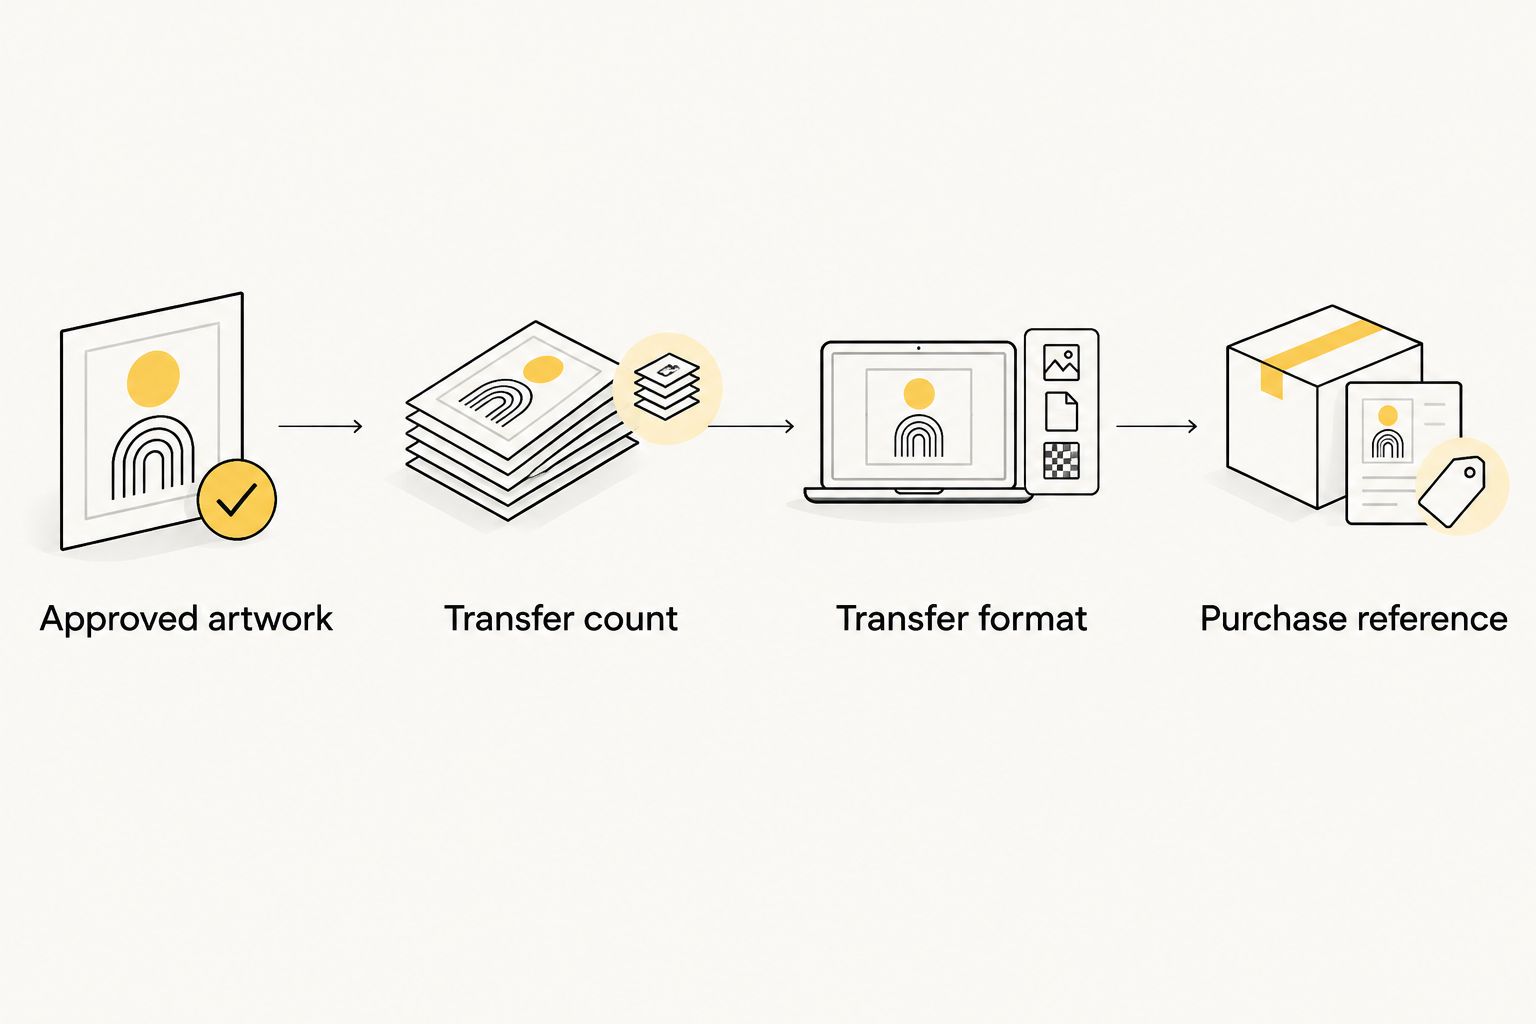
- Calculate transfer demand by placement. In a worked example, 2 garments with 2 placements each require 4 transfers. This is production arithmetic, not a supplier specification.
- Choose a transfer format using the comparison below. Group only jobs whose artwork is approved, and preserve the connection between each design and its customer order.
- Submit the approved files through the selected ordering route. Record the purchase reference and the artwork revision used; do not mark the apparel fulfilled at this stage.
Expected result: Every purchased transfer corresponds to an approved decoration, and the transfer count matches the garments and placements in the batch.
Choose the transfer format
| Transfer format | Best for | Production advantage | Production limitation |
|---|---|---|---|
| Individual cut-to-size DTF transfers | Shops staging separate customer jobs at the press | Cut-to-size pieces remove gang-sheet cutting from your shop's handoff | You still need to identify, count, and match each piece to its garment |
| Print-ready DTF gang sheet | Shops combining approved designs into a shared layout | A shared sheet groups designs into one production layout | Your shop must plan the layout, separate designs, and maintain order traceability |
DTF2GO ready-to-press DTF transfers are best for decorators who want to buy transfers and keep garment pressing in-house. The trade-off is operational responsibility: purchasing transfers does not complete the blank-garment, pressing, inspection, or shipping work.
For your 2026 artwork map, preserve the file used for each submitted batch. Replacing a shared file without changing its revision makes a repeat order difficult to reproduce accurately.
Batch reconciliation
Separate garment quantity from transfer quantity. A front-and-back shirt uses different production accounting from a shirt with one chest decoration, even when both appear as a single purchased garment.
Before releasing a batch, total the transfers by design and placement, then compare that total with the submitted layout or individual-transfer order. Do not add undocumented replacement pieces: record any extra production pieces separately so the customer quantity remains clear.
Press station and quality release
The press station needs the approved job record beside the actual garment. Use the instructions supplied for the specific transfer and check them against the garment's care and material requirements.
- Match the received transfers to the purchase reference. Inspect the artwork identity, dimensions, and quantities before distributing pieces to operators.
- Stage each job with its blank garment, transfers, and production record. Confirm garment size and color against the Shopify line item, not against memory or a similar nearby job.
- Configure the heat press according to the transfer's stated temperature, dwell time, pressure, and peel instructions. Keep those instructions at the station; do not substitute settings from a different transfer type.
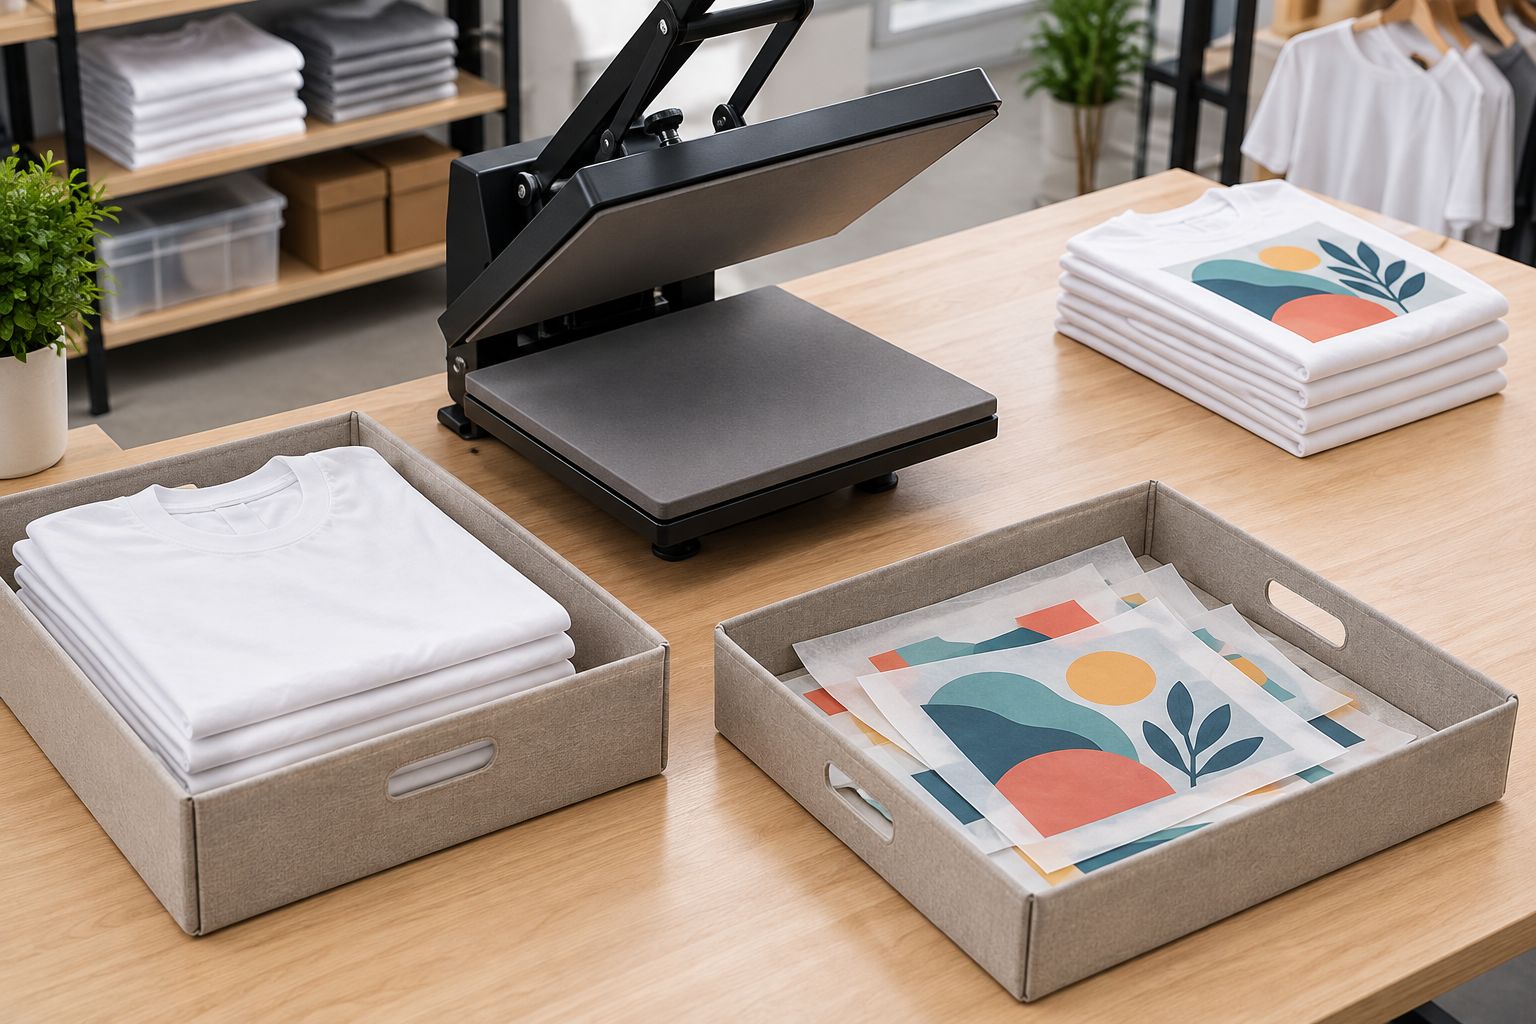
- Decorate a representative garment before releasing the rest of a new garment-and-transfer combination. Check placement, adhesion, visible defects, and the effect of pressing on the fabric.
- Inspect finished apparel against the approved artwork and order details. Record completed quantities and isolate rejected pieces rather than counting them as finished customer goods.
Expected result: The press queue produces inspected garments with a documented connection to the approved order and transfer batch.
Stage unpressed and inspected work in separate areas. A garment sitting beside the press is not evidence that it passed inspection; the production record must show the release decision.
Validate the handoff before live production
For your 2026 setup, test 3 orders: a single-placement garment, a multi-placement garment, and a personalized garment. These are recommended test cases, not measured shop results.
Run each through artwork review, transfer counting, purchasing, pressing, and packing. Check that a second operator can finish the job using only the production record. If the operator needs verbal instructions, add the missing information before using the workflow for customer work.
Shipping reconciliation
Customer fulfillment belongs to finished apparel, not to the arrival of transfers at your shop. Keep supplier receipt and customer shipment as separate milestones.
- Compare inspected garment quantities with the current Shopify order. Check for edits, cancellations, or partial work before packing.
- Pack the correct garments for each customer and verify the recipient details. Keep incomplete line items out of completed shipments.
- Open the order in Orders and use Fulfill items for the items being shipped. Confirm the item quantities rather than automatically treating the whole order as complete.
- Enter the shipment's Tracking number and Shipping carrier when tracking applies. Complete the fulfillment action in line with your actual shipping handoff.
- Record the shipment reference in the production record and close the completed job. Keep any unfinished balance visible for follow-up.
Expected result: Shopify's fulfillment record matches the customer shipment, and the shop can trace the finished apparel back to its artwork and transfer purchase.
A split order needs a split record. If some garments remain in production, keep their unfinished quantities explicit even when another part of the order has shipped.
Automatically tag orders when payment completes
Once the manual queue works, Shopify Flow can remove the repetitive tagging step. Automate queue entry, not artwork approval or physical completion.
- Open Shopify Flow and select Create workflow.
- Choose Select a trigger, then select Order paid.
- Add the Add order tags action and enter
dtf-reviewin Tags. - Save the workflow and use Turn on workflow to activate it. Test with a paid order before relying on the tag for production.
- Confirm the order receives the tag and still requires the artwork, garment, and purchase checks described above.
Expected result: Newly paid orders enter the review queue without manual tagging. This configuration does not send files or purchase transfers from DTF2GO.
Use the unconditional version only when the queue is appropriate for your store's orders. In a mixed-product store, add conditions based on your actual apparel catalog or retain manual selection; unrelated orders should not become press jobs.
Recheck the job whenever an order changes
Order edits are a separate workflow from initial payment. Before purchasing transfers and again before pressing, compare the production record with the live Shopify order.
If the customer changes quantity, garment variant, or personalization, return the affected job to review. Update the artwork revision and required transfer count, then document whether transfers have already been purchased or garments pressed. An edit does not undo physical work.
Troubleshooting
- An order is paid but absent from the tagged queue. Check that Shopify Flow is active, review the workflow run, and confirm payment occurred after activation. Reconcile older paid orders manually instead of assuming a new workflow tagged them retroactively.
- The same decoration job appears twice. Compare order, line-item, and placement references. Retain one active record and check the purchase reference before submitting another transfer order.
- Transfer quantity does not match garment quantity. Recalculate by placement. Count front, back, and other decorations separately, and check for order edits before accepting the batch total.
- Personalized artwork does not match the order. Stop the affected job and compare the approved file revision with the customer's recorded text. Correct the approval and production records before releasing replacement work.
- Transfer edges lift during inspection. Check the specified press settings, peel method, and whether seams or uneven garment thickness prevented consistent contact. Isolate affected garments and verify the corrected setup before continuing the batch.
Customize your workflow
Build your 2026 queue around the way your shop produces apparel. Batch repeat designs by approved artwork reference, but keep each customer's quantities and garment variants traceable through pressing and packing.
For shops combining several approved designs, use the guide to combining multiple designs on one DTF gang sheet. Layout planning belongs after approval, not before it.
Expand the production record with operator assignment, inspection outcome, and shipment reference. Add software connections only when you have verified the receiving system's supported interface and tested error handling; an order tag alone is not a transfer-order integration.
FAQ
How do I set up Shopify to DTF transfer fulfillment?
Create a paid-order review queue, map each apparel line item to approved artwork, purchase the required transfers, and press and inspect the garments before shipping. Keep transfer purchasing separate from customer fulfillment so Shopify reflects finished apparel shipments.
Does this workflow automatically send Shopify orders to DTF2GO?
No. This workflow uses DTF2GO for ready-to-press transfer purchasing and keeps order review, garment production, and shipping under your shop's control. Automated supplier submission requires a separately verified connection.
Can Shopify Flow start a DTF production queue?
Yes, Shopify Flow can use Order paid to add an order tag for production review. The tag starts a queue; it does not approve artwork, purchase transfers, or confirm pressing.
Are cut-to-size transfers better than gang sheets for Shopify orders?
Cut-to-size transfers fit shops that want separate pieces for staging, while gang sheets fit shops combining approved designs into a shared layout. Cut-to-size jobs still need identification, and gang sheets require layout planning and separation.
When should I mark a DTF apparel order fulfilled in Shopify?
Record fulfillment for the finished apparel shipment, not when transfers arrive at your shop. Verify garment quantities and record the tracking details for the items actually shipped.
What should I do when a customer changes a personalized order?
Return the affected decoration job to review and compare the new request with the approved artwork and production status. Update the revision and quantities before further work, and document any transfers already purchased or garments already pressed.
What heat-press settings should I use for these transfers?
Use the application instructions supplied for the specific transfer and verify suitability for the garment. Do not carry temperature, dwell time, pressure, or peel settings over from a different transfer type without checking them.
One last thing
Use the decorated garment as the final checkpoint, not the transfer delivery. In your 2026 workflow, a correct transfer can still land on the wrong garment or in the wrong customer package. Close the job only when artwork, garment, inspection, and shipment records agree.
